Choose a Grill-Friendly Steak
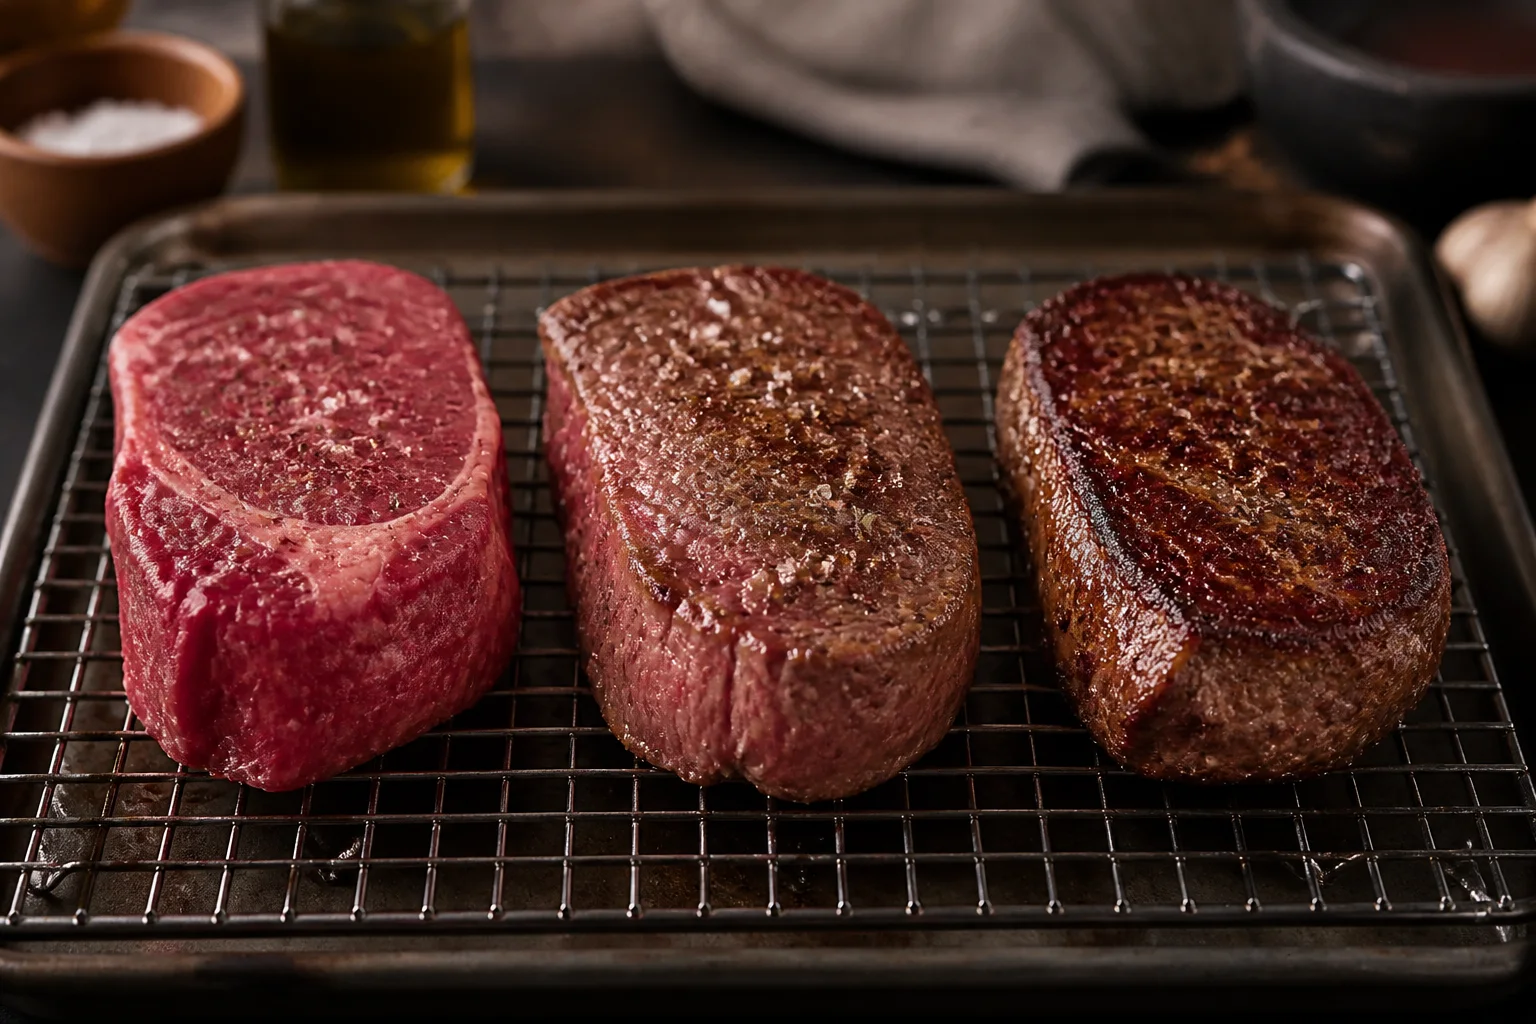
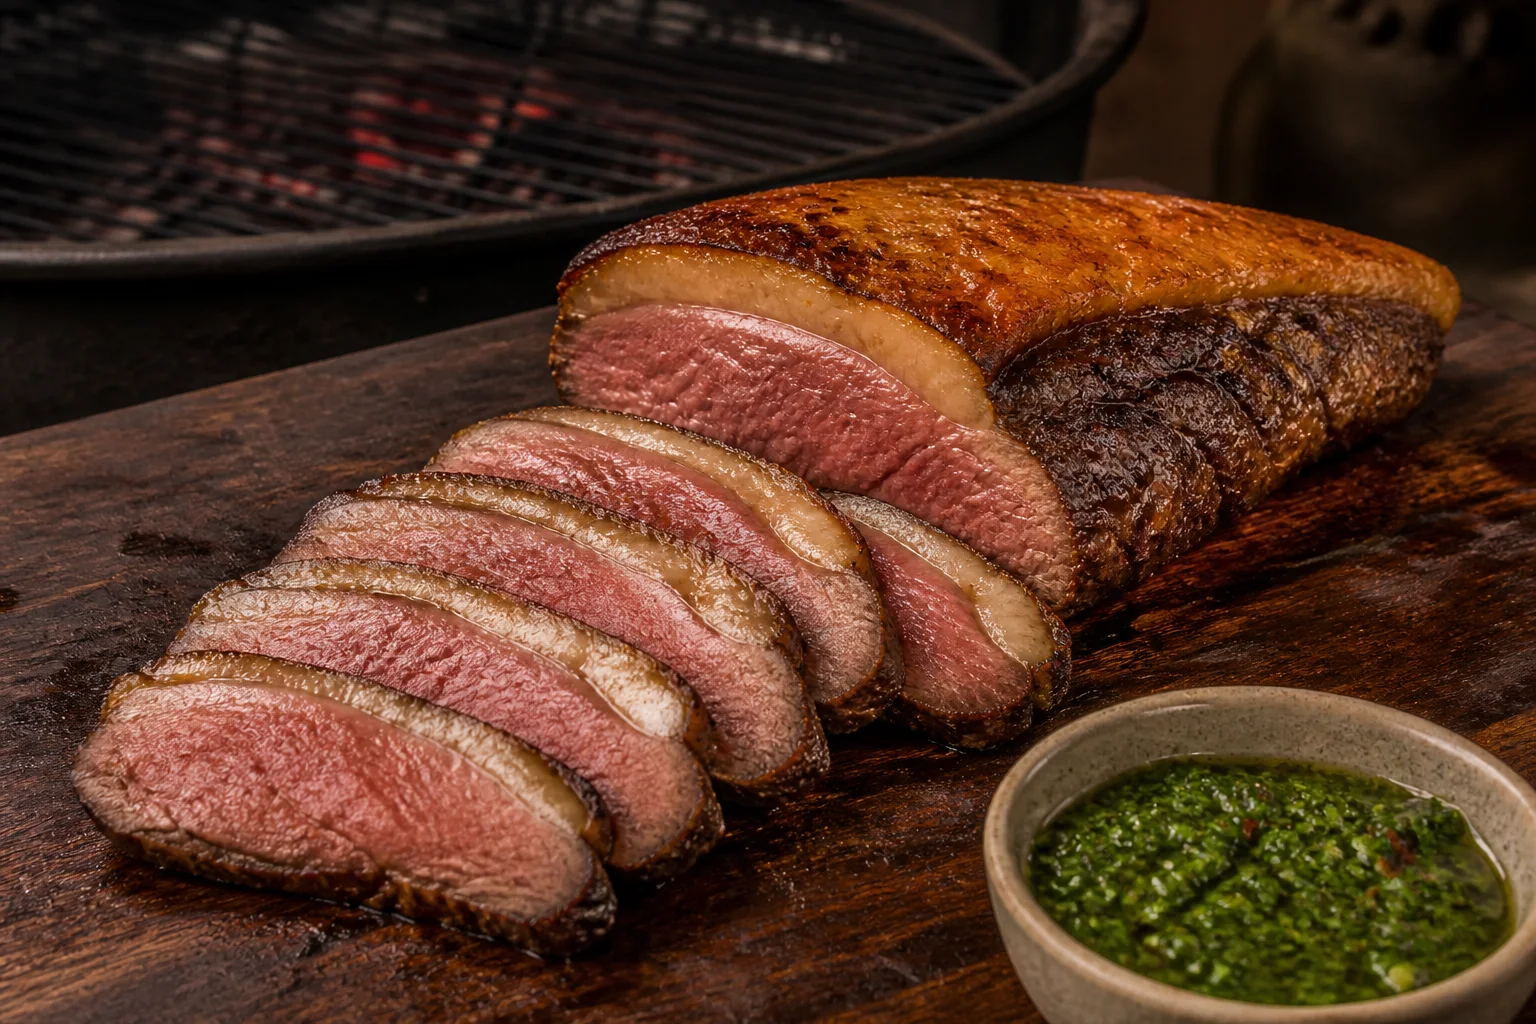
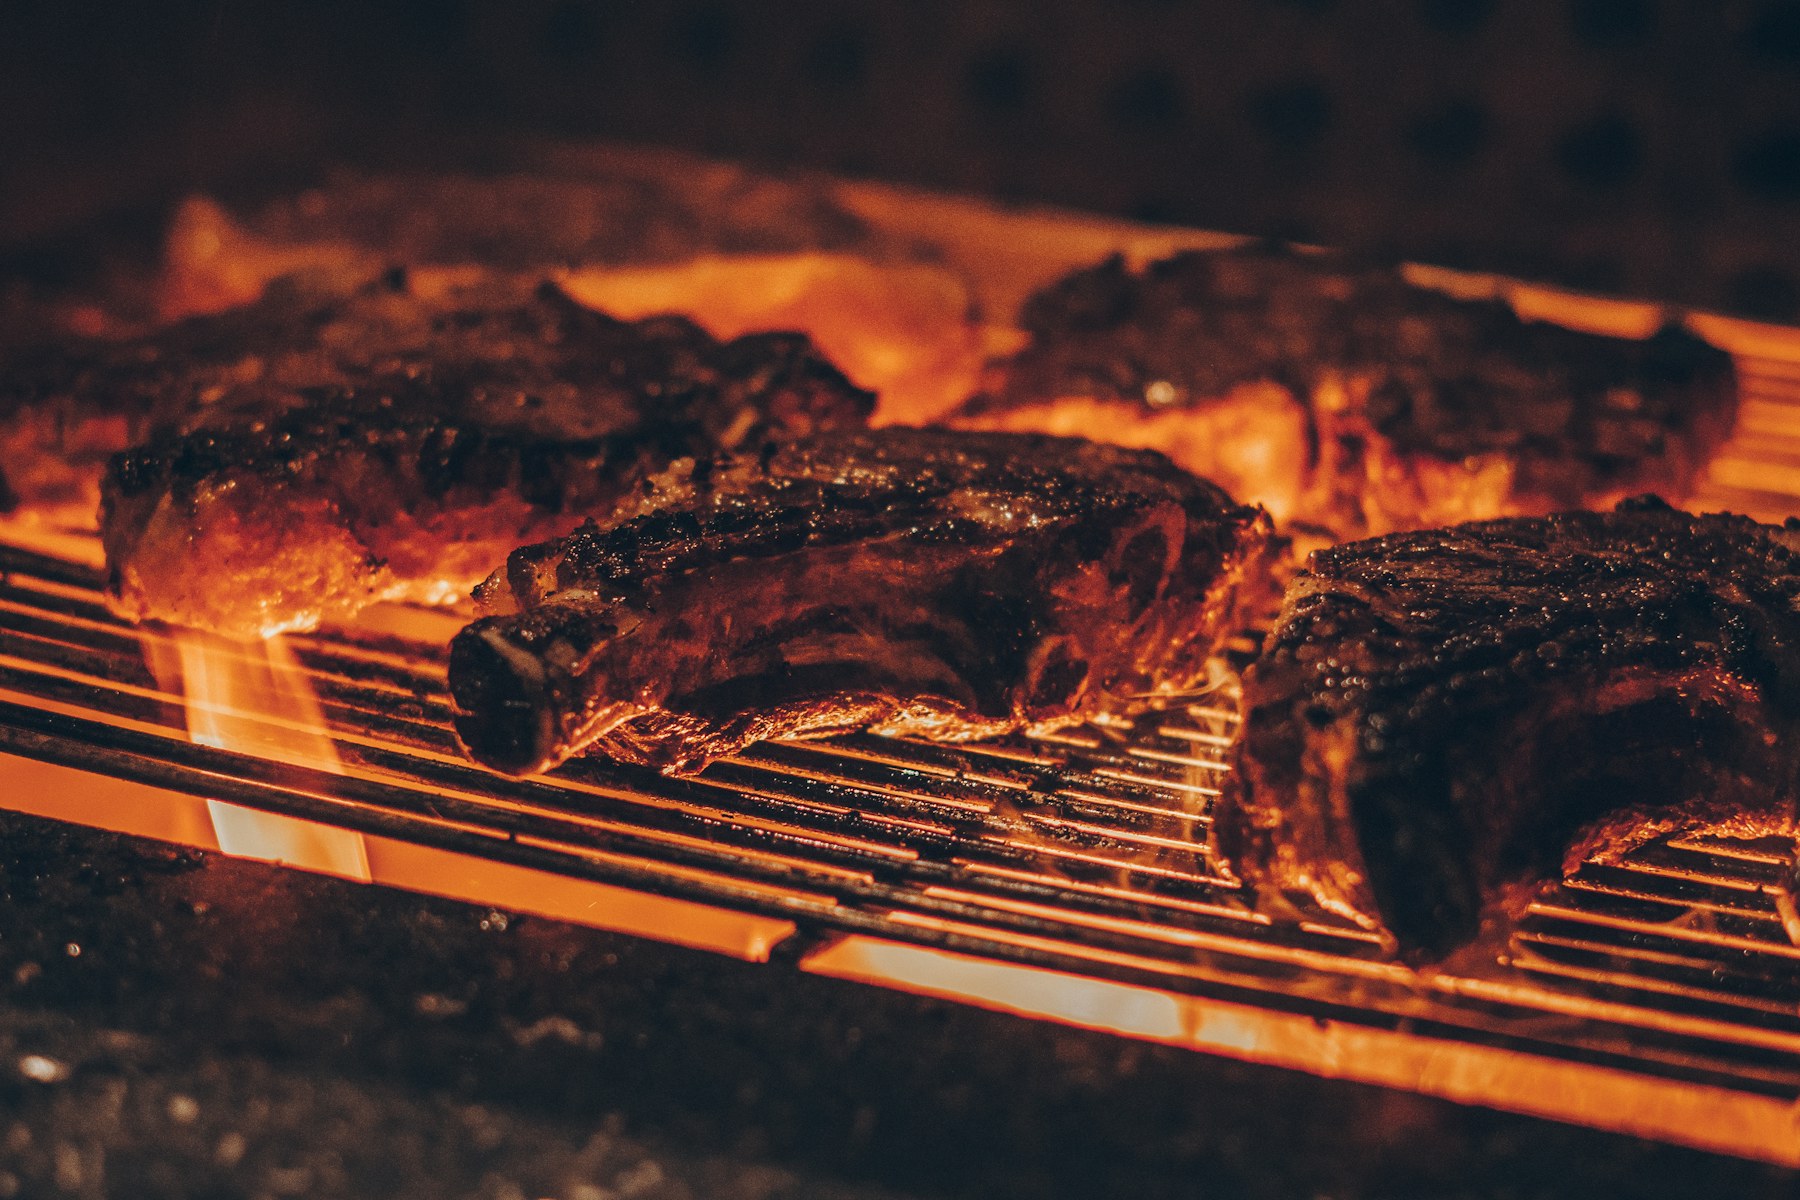
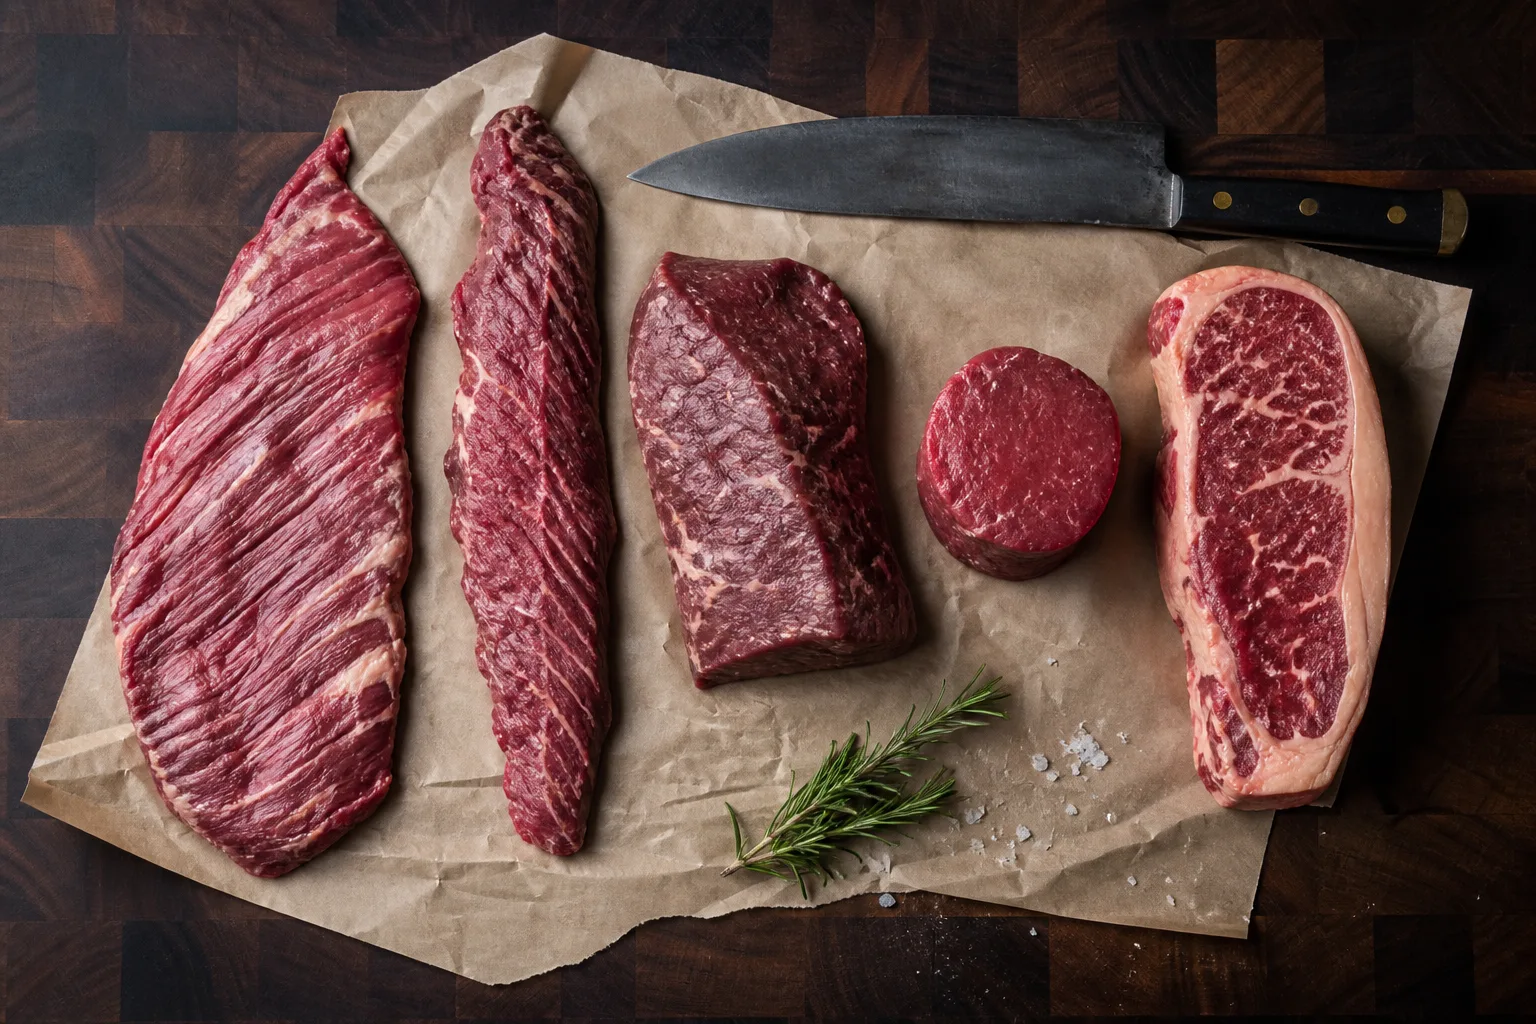
Well-marbled ribeye handles live fire but drips fat; picanha has a cap that must be rendered; bavette is thinner and needs a fast cook plus cross-grain slicing. Match the fire to the cut.
Build Direct and Indirect Zones
Bank charcoal to one side or set gas burners at different levels. Preheat the grate, clean it and lightly oil the steak. The direct zone makes crust; the indirect zone finishes thick steaks and offers escape from flare-ups.
Direct or Indirect First?
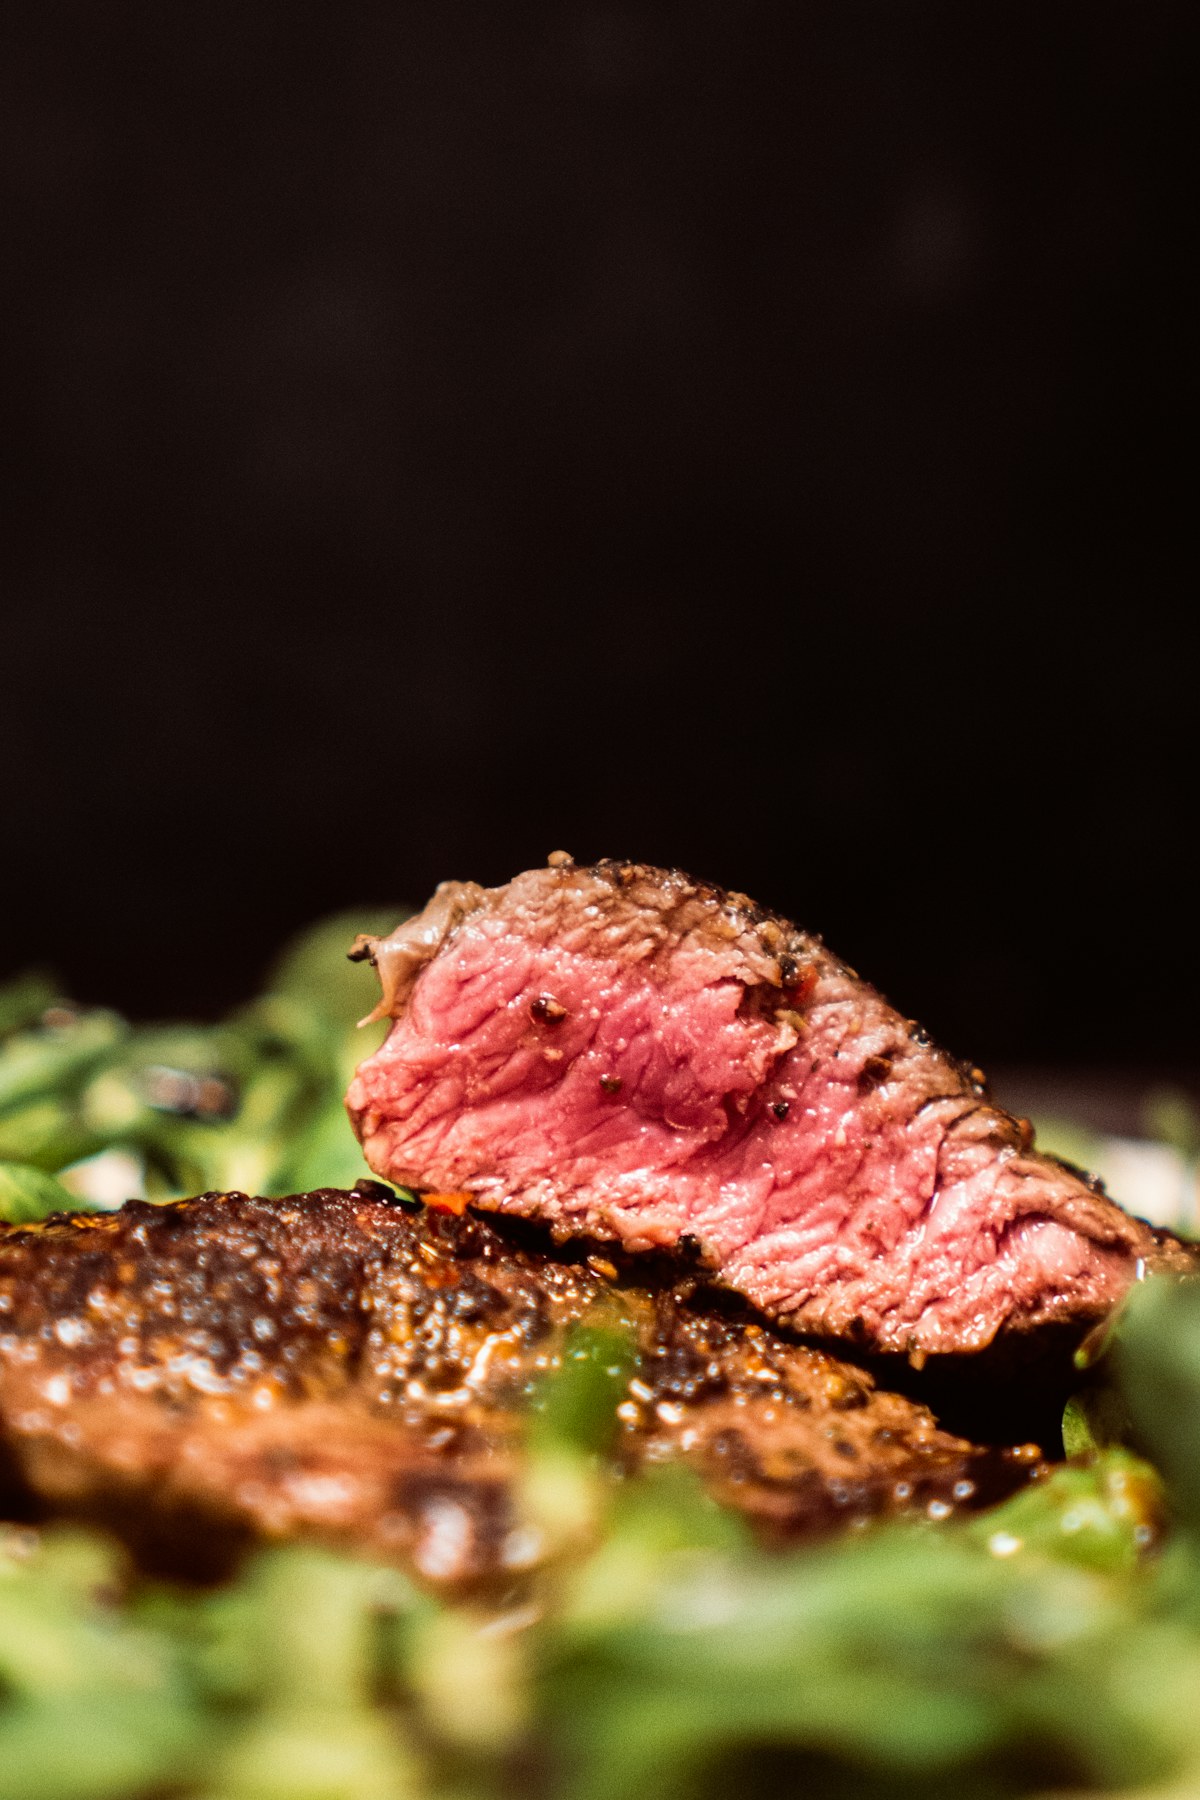
Thin steaks go direct and fast. Thick steaks can start indirect and finish direct, using the reverse-sear method. Turn frequently for even browning and move away when dripping fat ignites.
Measure Away From the Grate
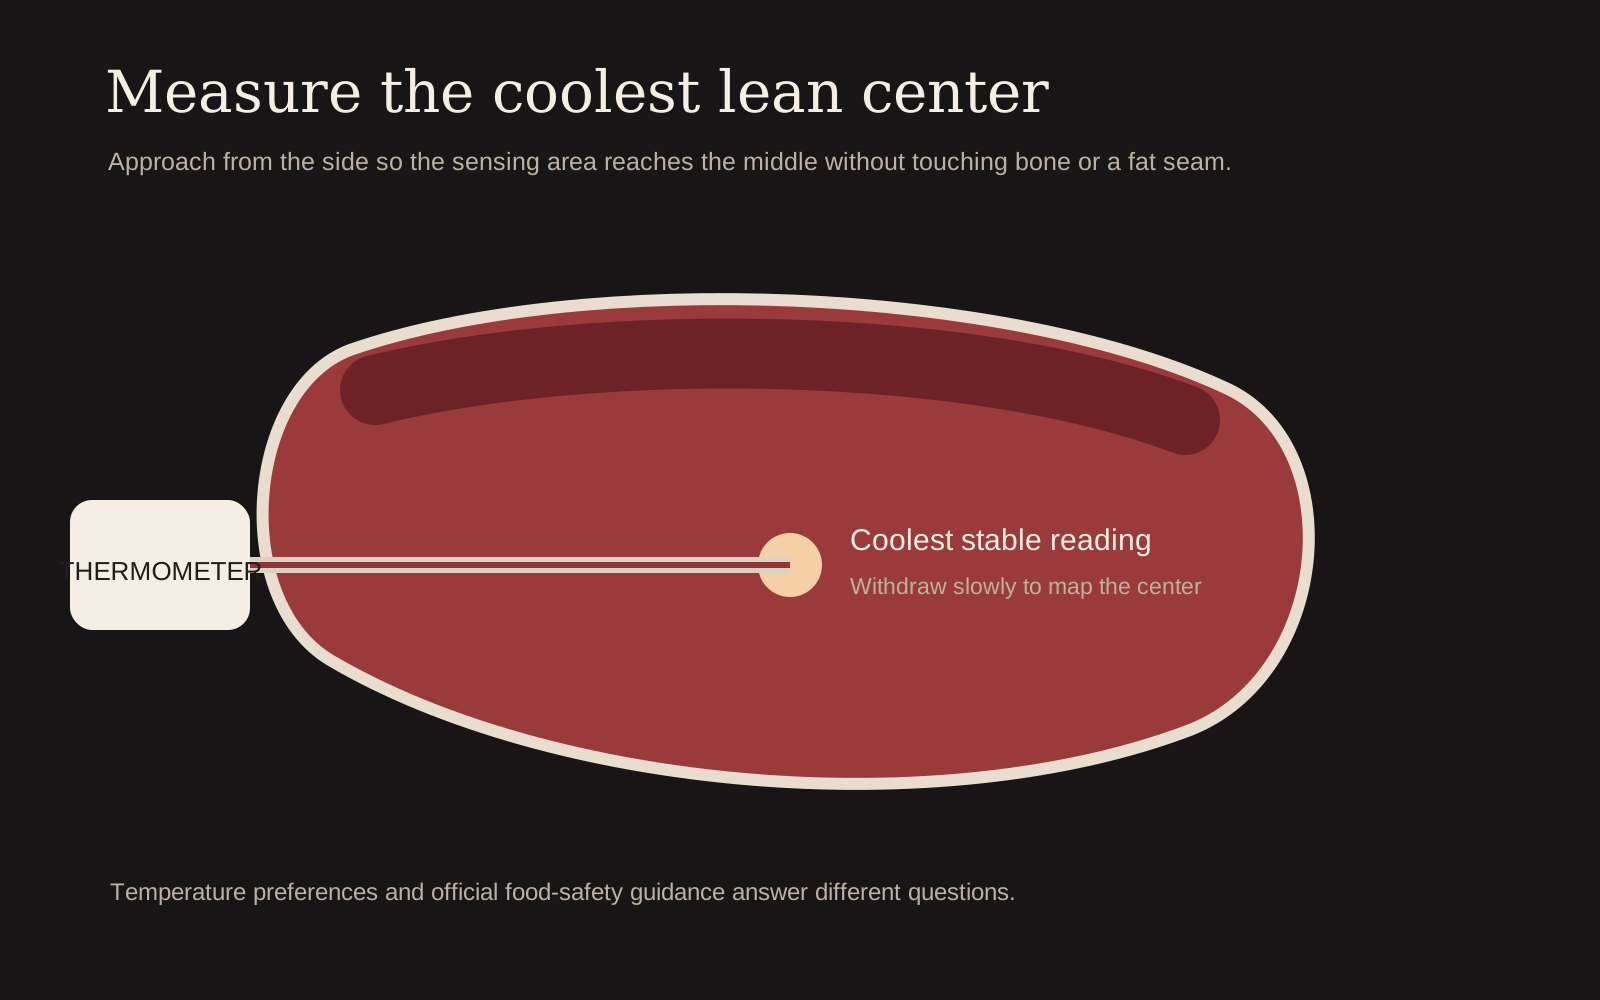
Move the steak briefly to a cooler area, insert the thermometer from the side and check the center. Do not measure while the tip touches hot grate or bone. Follow the temperature guide and account for carryover.
Keep Raw and Cooked Tools Separate
Grill Troubleshooting
| Problem | Cause | Fix |
|---|---|---|
| Sooty bitterness | Grease flames licking steak | Move indirect; close lid briefly if safe |
| Stuck steak | Cold/dirty grate or early movement | Preheat, clean and wait for crust release |
| Raw center | Direct-only cooking on thick steak | Finish indirect |
| Dry thin steak | Too much lid-closed time | Cook fast with lid open as appropriate |
Manage the Fire, Not Just the Steak
For charcoal, wait until the fuel is fully lit and arrange a concentrated bed beside a genuinely cooler area. A few scattered coals everywhere create no escape zone. Vents control combustion and should be adjusted deliberately rather than closed whenever flames appear. Grease flames are managed by moving the steak, not starving the whole fire.
On gas, preheat with the lid as instructed, then dedicate at least one burner to lower or no direct heat. Grate thermometers near the lid do not equal surface temperature. Learn which corner runs hot and rotate the steak rather than assuming symmetric burners.
Weather changes recovery. Cold wind strips heat from an open grill; very hot weather raises starting conditions; rain changes how often the lid can safely open. Use the cooking-time calculator only to decide when to begin checking. The fire and center temperature decide when the steak moves.
Plan a Grilled Steak Before the Heat Starts
A two-zone grill makes browning and center temperature separate controls instead of forcing the steak to remain over flame. A reliable result begins by separating decisions that are often bundled together: the cut and thickness, the surface condition, the heat source, the target center and the finish. When those variables are named before cooking, the clock becomes a reference instead of the only control.
Clean and oil the grate appropriately, stabilize one strong direct zone and preserve a genuinely gentler indirect area. Set out the thermometer, tongs, resting surface and finishing ingredients before the steak reaches the pan, grill, smoker or air fryer. That short mise en place prevents the common scramble in which butter burns, a sauce reduces too far or the steak passes its intended pull point while a tool is being found.
- Measure thickness at the thickest useful point. Weight alone does not predict the distance heat must travel to the center.
- Dry the entire exterior. Check edges, fat seams and bone recesses; hidden moisture can create a pale patch.
- Choose the probe path. Insert from the side into the coolest central area, avoiding bone and large fat pockets.
- Prepare a gentler zone. A cooler burner, indirect grill zone or lower oven gives you a place to finish without burning the crust.
- Name the resting surface. A rack preserves crust better than a deep plate that traps steam beneath the steak.
Compare the full workflow with our complete steak cooking guide. If the cut itself is unfamiliar, start with the ribeye guide so muscle, grain and trimming guide the technique.
Control Browning and Center Temperature Separately
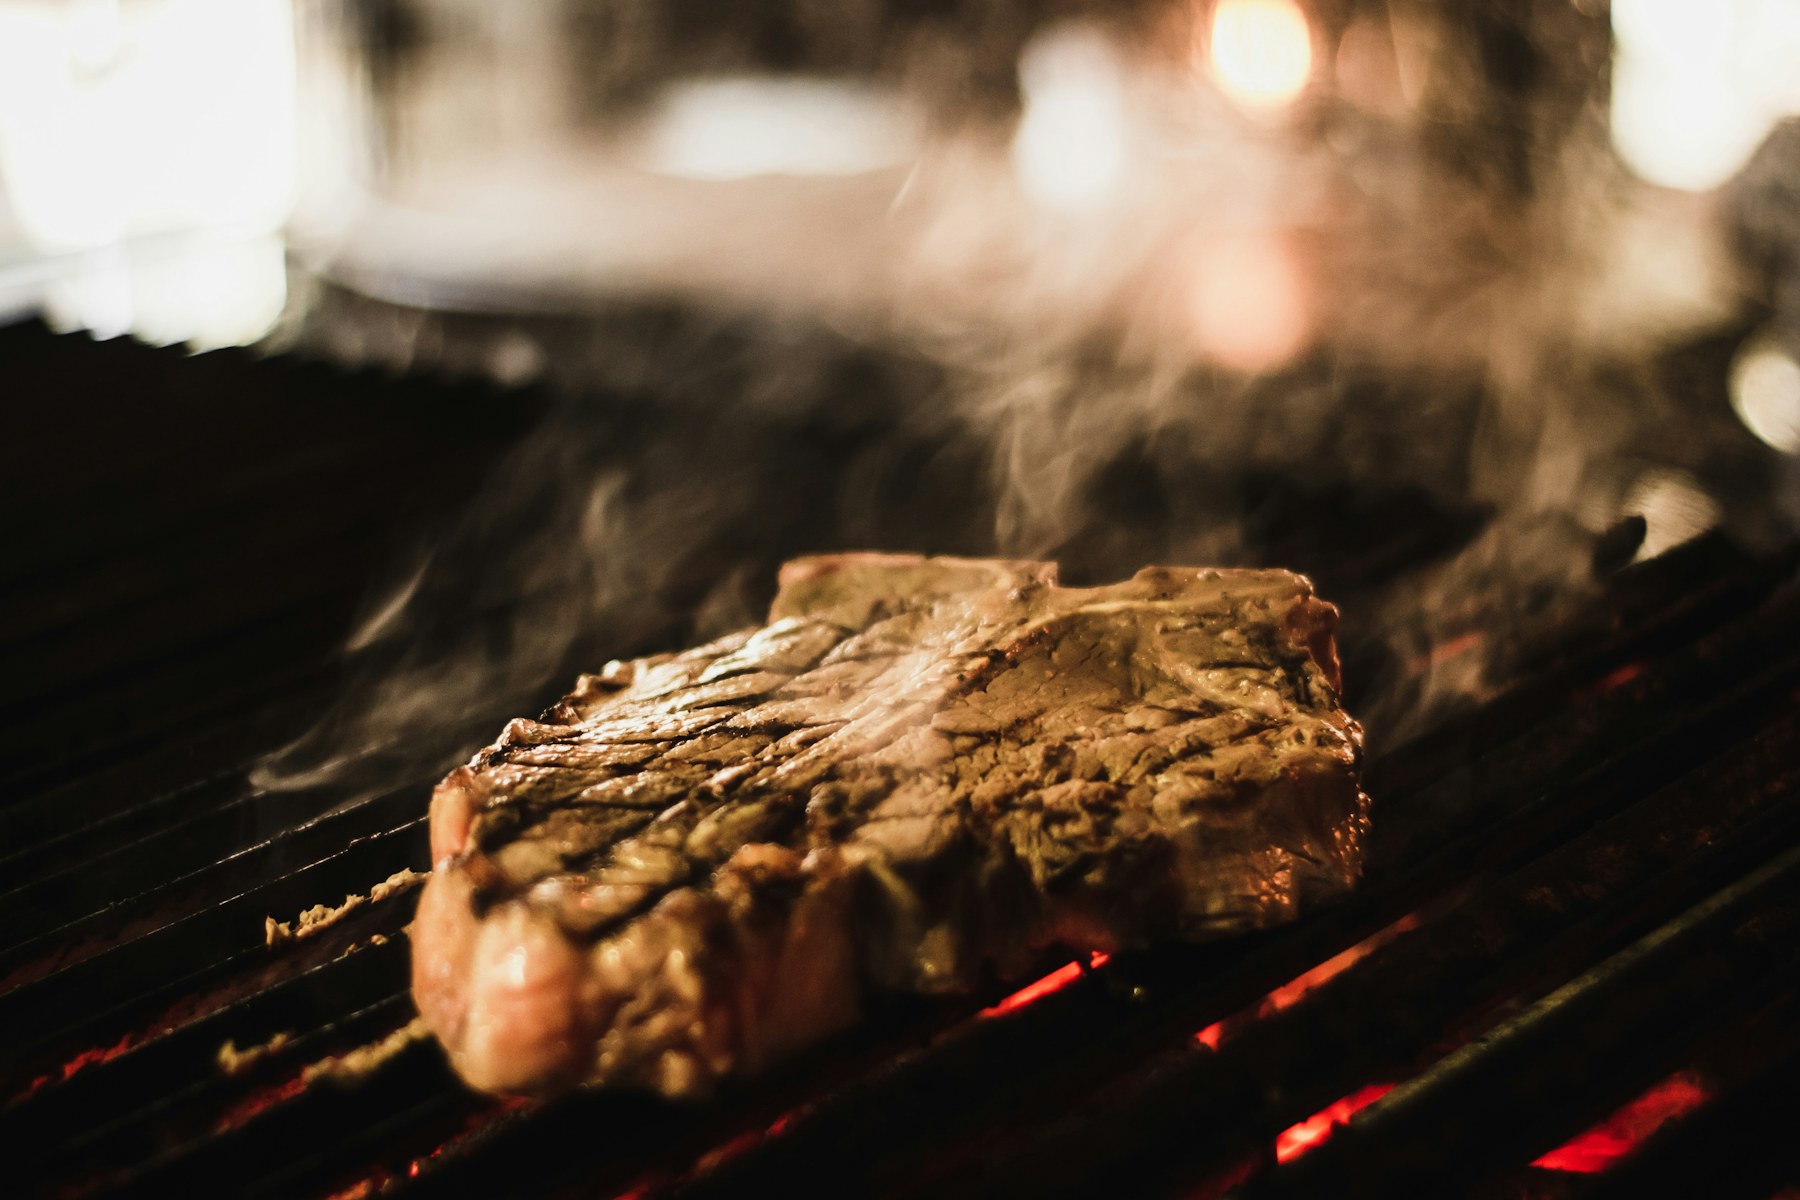
Rendered fat can create desirable brief flame contact, but sustained flare-ups deposit soot and burn the exterior before heat reaches the center. Crust and center temperature are related, but they are not the same measurement. Surface browning responds to dryness, direct energy and contact; the center responds mostly to thickness, temperature gradient and time. If the exterior is ready first, reduce the heat. If the center is ready first, the next attempt needs a drier surface or a stronger, shorter sear.
| Signal | What it usually means | Response |
|---|---|---|
| Weak sizzle | Surface or cooking surface is too cool | Pause, avoid crowding and restore heat |
| Black spices before crust | Fine seasonings are scorching | Use simpler early seasoning and finish later |
| Uneven reading | Probe is near fat, bone or a hot edge | Check from a second direction |
| Gray band expanding | Too much time over aggressive heat | Move to gentler heat sooner |
| Juice pooling during rest | Deep plate or premature slicing | Use a rack and complete the rest |
Take two readings when geometry is irregular. Thick bone-in steaks may have different thermal zones, while thin steaks can change several degrees during the time needed to reposition a probe. The goal is not to perforate the meat repeatedly; it is to confirm that one surprising number is real before acting on it.
Finish, Rest and Evaluate the Result
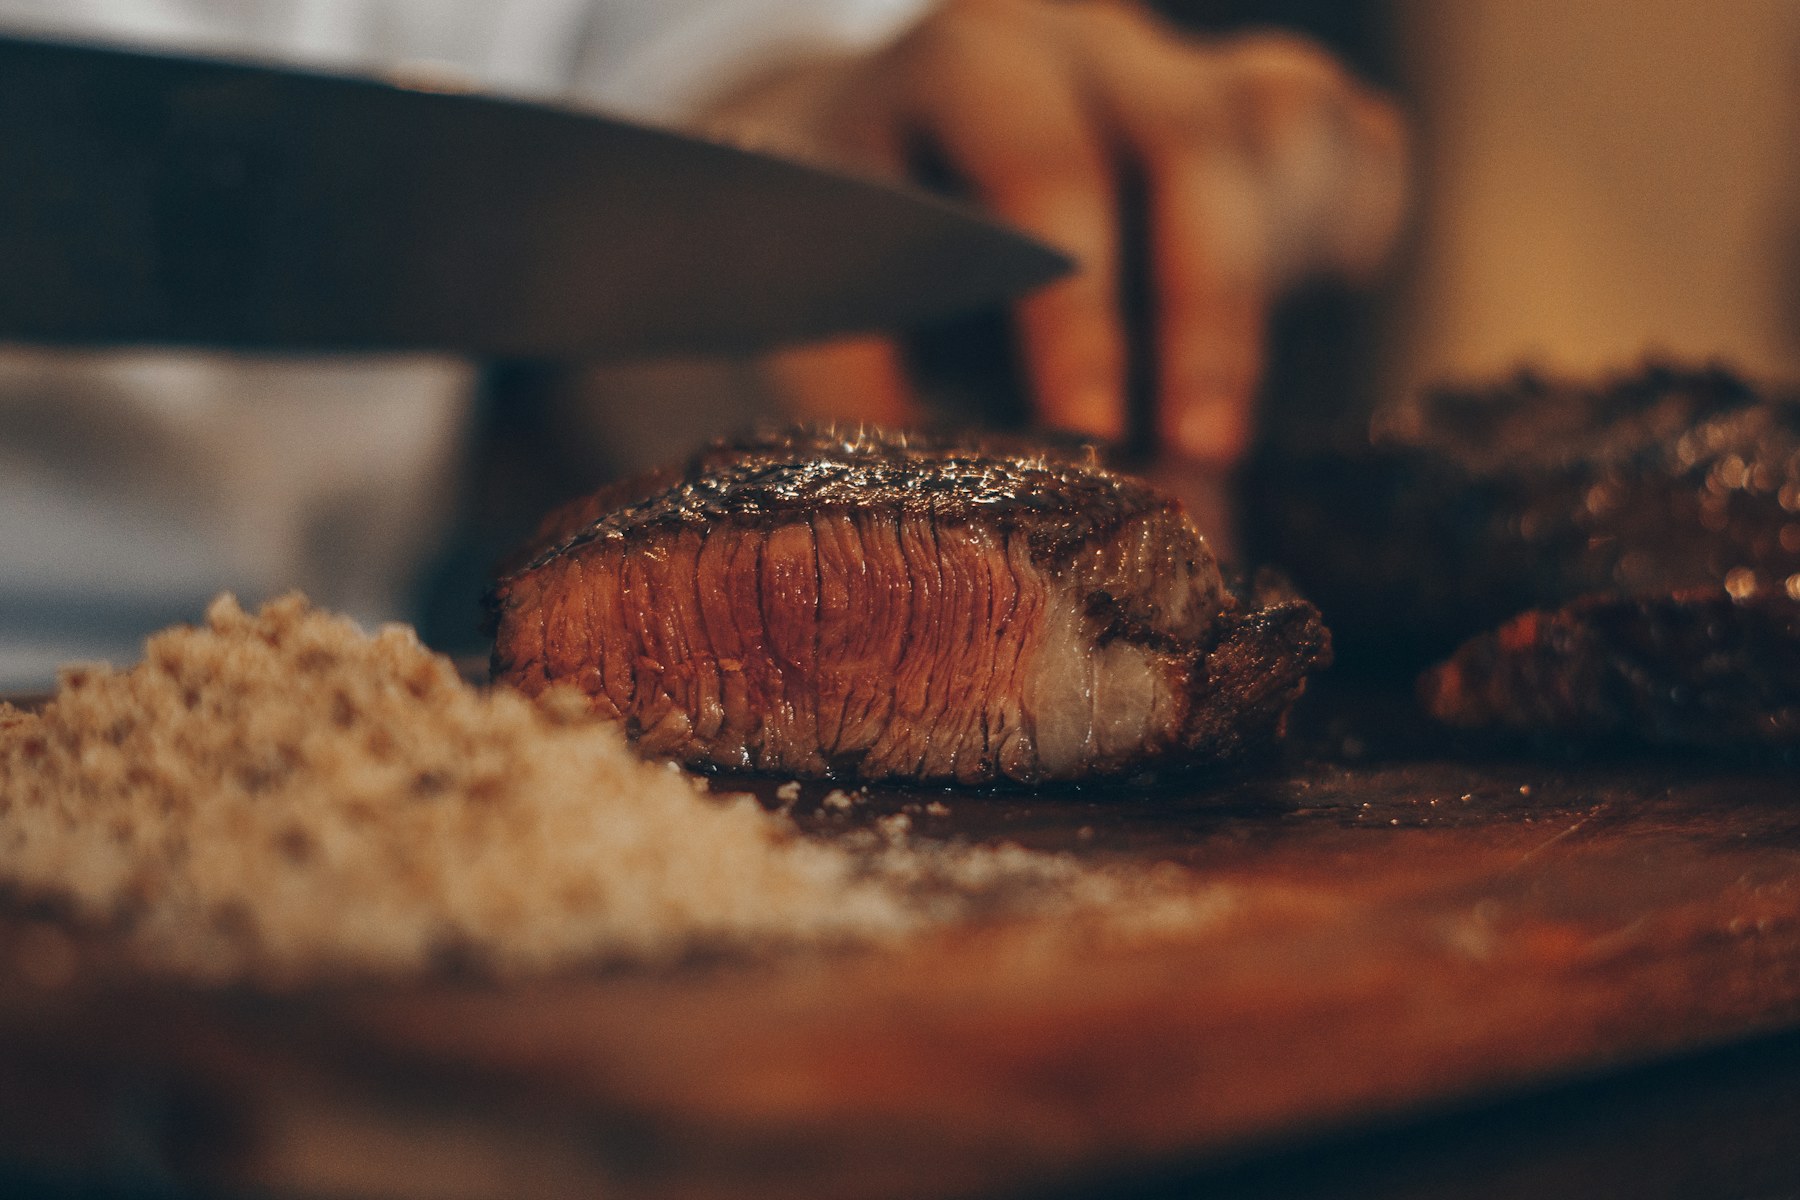
Move between zones as needed, close the lid during gentle finishing and measure away from bone. Add butter, sugar-bearing sauces, fresh garlic and delicate herbs late enough that they flavor the steak without burning. Resting then allows the steepest temperature gradient to ease. Large steaks carry over more than thin steaks, so record the actual change rather than assuming a universal number.
A steak that is black outside and cool inside needed less continuous direct heat, while a pale steak finished too long over weak indirect heat. If the result misses, change one major variable on the next cook. A lower pull temperature cannot fix a wet surface; a longer rest cannot repair slicing with the grain; more smoke cannot compensate for dirty combustion. A narrow adjustment produces evidence you can use.
Complete the plate only after tasting a center slice. Reduced sauces, compound butter and salty seasonings can make an already well-seasoned steak harsh. Acid, fresh herbs and crisp vegetables often improve balance without covering the beef.
Steak Grill Time by Thickness: First-Check Windows
These ranges tell you when to begin checking a boneless steak over a fully preheated medium-high grill; they are not guaranteed finish times. A cold 2-inch filet, a room-cool 2-inch strip and a bone-in ribeye will not move at the same rate even if their thickness matches.
| Measured thickness | Useful grill setup | Begin checking after |
|---|---|---|
| ¾ inch | Fast direct heat | About 2 minutes on the first face and 1 to 2 minutes after turning |
| 1 inch | Direct heat with a cooler escape zone | About 3 minutes on the first face and 2 minutes after turning |
| 1¼ inches | Brown over direct heat, finish over gentler heat if needed | About 4 minutes on the first face and 3 minutes after turning |
| 1½ inches | Two-zone grill | After roughly 8 to 10 total minutes, checking before the crust is complete |
| 2 inches or more | Gentle indirect stage plus hard final sear | During the indirect stage; use time only as a reminder |
- Measure thickness at the center. A tapered edge does not set the cooking plan.
- Keep a cooler zone. Move the steak before the crust burns while the center catches up.
- Flip for evenness. More than one flip is acceptable when it reduces a steep heat gradient.
- Probe from the side. Seek the coolest lean center and avoid bone or a fat seam.
Compare Two Exact Grill-Tong Designs
Choose reach without losing control. Tongs should move a steak cleanly between hot and cool zones, grip narrow edges for fat rendering and keep your hand away from flare-ups.
Our best grill tongs for steak comparison evaluates the standard OXO 16-inch locking tongs against the angled-head OXO Outdoor model, including reach, stiffness, cleaning and raw-to-cooked handling.
Frequently Asked Questions
Should the grill lid be open or closed?
Thin steaks often cook direct with the lid open; thick steaks benefit from a closed lid during the indirect stage. Grill design matters.
How do I stop flare-ups?
Maintain an indirect zone, trim excessive hard fat and move the steak away from flames instead of letting soot coat it.
Do grill marks mean good crust?
Not by themselves. A full brown surface delivers more browning than a pale steak with dark stripes.
Sources & further reading
- USDA FSIS — Safe Minimum Internal Temperature Chart — Official whole-steak and ground-beef temperature guidance.
- USDA FSIS — Grilling Food Safely