When to Reverse Sear
Use it for steaks about 1.5 inches thick or more: ribeye, strip, porterhouse and large tomahawk all suit the approach. Thin steaks spend too much of their limited margin in the low stage.
Dry-Brine and Set Up
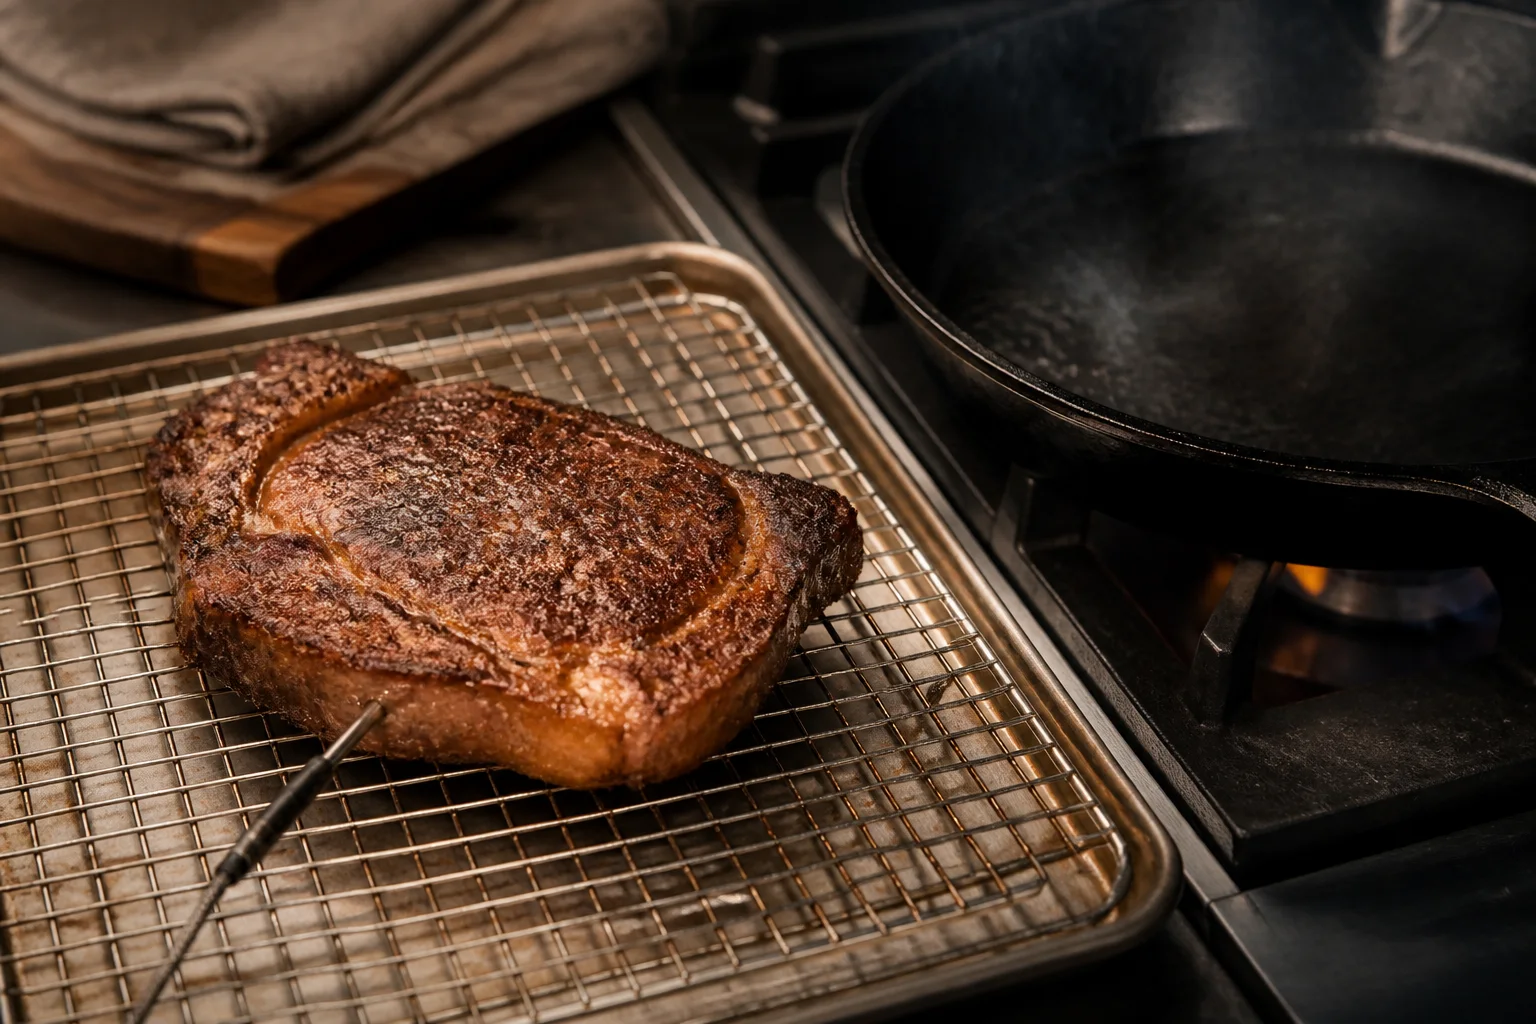
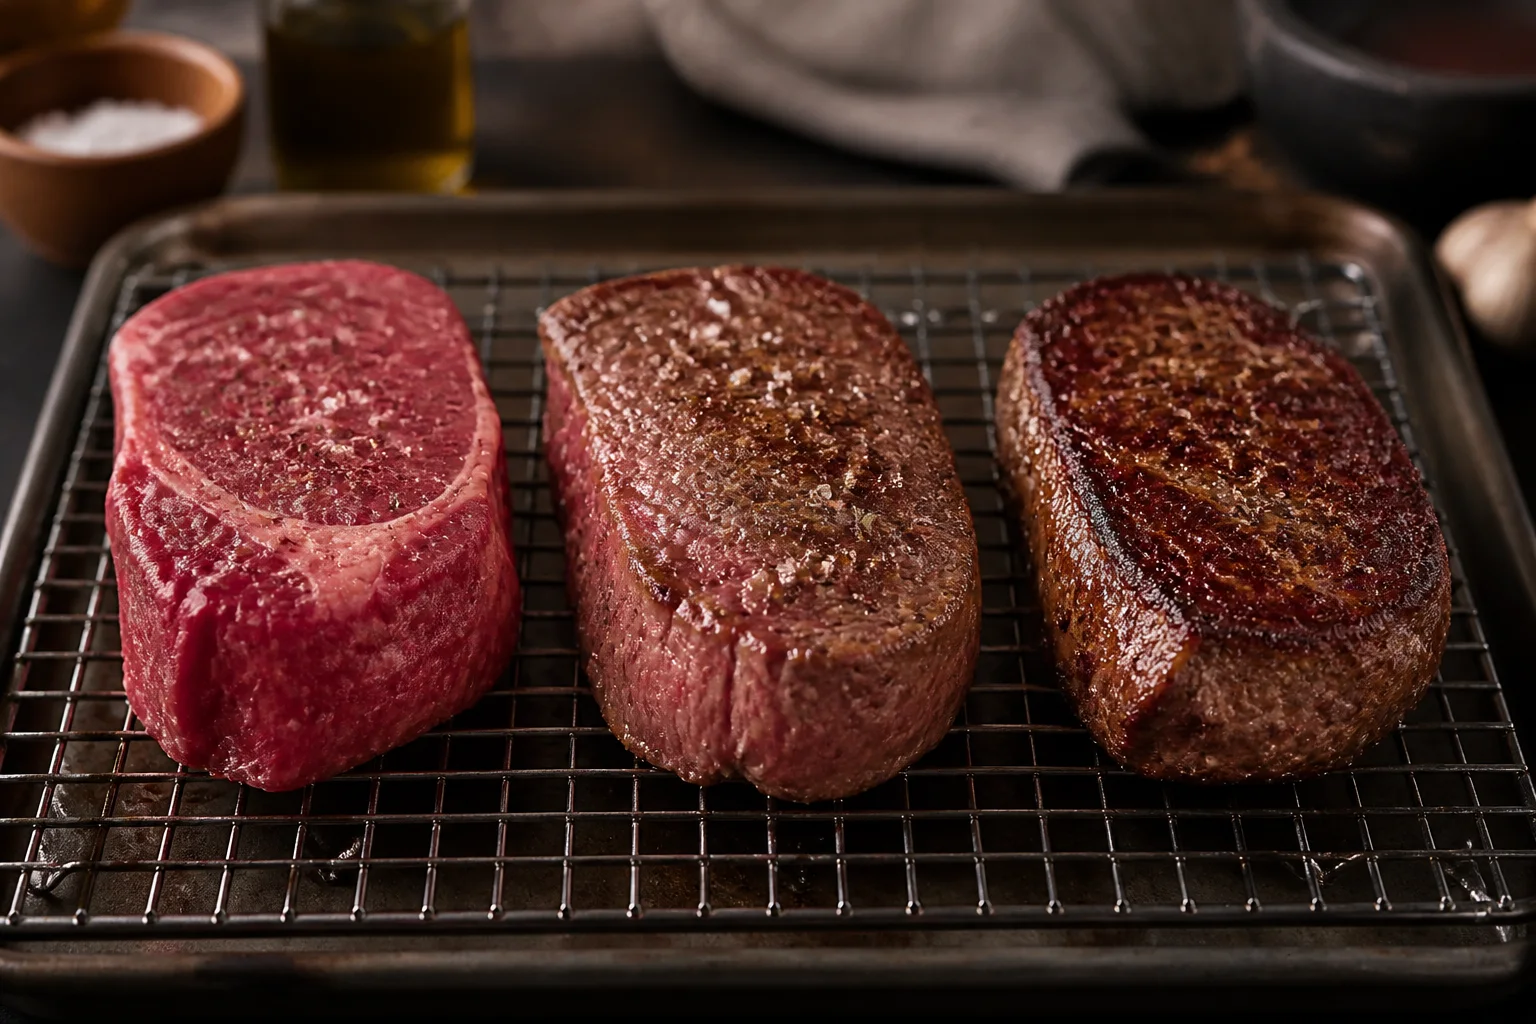
Salt ahead on an uncovered rack. Heat an oven or indirect grill around 225–275°F. Insert a leave-in probe sideways into the central lean. Begin preheating the finishing pan or direct zone before the first stage ends.
The Two Stages
- 01DRY BRINE
- 02LOW HEAT
- 03VERIFY
- 04BLOT
- 05HIGH SEAR
- 06REST
Cook gently until the center approaches the desired final temperature with enough room for searing and carryover. There is no universal handoff number: steak mass, final sear intensity and resting conditions alter the rise. Blot the surface, then sear in short frequent turns.
For cut-specific execution, see reverse-sear ribeye or the full tomahawk cooking guide.
Sear Fast and Dry
Use very hot iron, a plancha or direct coals. A thin film of high-heat oil is enough. Butter and garlic wait until the crust is set and the heat is reduced. Turn every 20–30 seconds and brown the fat edge briefly.
Carryover Is a Trend, Not a Constant
A large steak coming from a hotter oven carries over more than a smaller steak cooked gently. Watch the probe curve and verify with an instant-read thermometer. Use the temperature guide for doneness context and safety guidance, and the thermometer buying guide to understand why a leave-in probe and a fast spot-check tool do different jobs.
Fix Common Problems
| Problem | Reason | Fix |
|---|---|---|
| No crust | Surface wet | Blot immediately before searing |
| Overcooked | First stage ended too late | Begin sear earlier and track trend |
| Gray band | Low stage too hot or sear too long | Lower first heat; preheat finish better |
| Cool center | Probe not in central lean | Verify several points from side |
Use the Method to Coordinate a Meal
Reverse searing separates the unpredictable long stage from the short finish, which makes it useful when serving several steaks. Cook similar-thickness pieces on one rack, probe at least two and remove each as it reaches its handoff. They can pause briefly while sides are finished and the searing surface comes fully hot.
Do not turn that flexibility into an hour-long room-temperature hold. Keep the interval short and track the center. If a steak must wait longer, food-safety planning becomes more important than cooking convenience. For a dinner party, choose steaks within a narrow thickness range and write each guest's target on a small tray label.
Sear in an order that protects the lower target steaks. Use clean tongs, wipe burned debris between batches and add butter only to the final lower-heat pass. A thick porterhouse needs two temperature checks even when the other steaks need one, because strip and tenderloin do not finish together.
Plan a Reverse-Sear Steak Before the Heat Starts
Reverse searing is most useful when a steak is thick enough to benefit from a gentle first phase and a very short final sear. A reliable result begins by separating decisions that are often bundled together: the cut and thickness, the surface condition, the heat source, the target center and the finish. When those variables are named before cooking, the clock becomes a reference instead of the only control.
Use a rack for airflow, keep the oven or indirect grill steady and preheat the final searing surface before the center reaches its pull point. Set out the thermometer, tongs, resting surface and finishing ingredients before the steak reaches the pan, grill, smoker or air fryer. That short mise en place prevents the common scramble in which butter burns, a sauce reduces too far or the steak passes its intended pull point while a tool is being found.
- Measure thickness at the thickest useful point. Weight alone does not predict the distance heat must travel to the center.
- Dry the entire exterior. Check edges, fat seams and bone recesses; hidden moisture can create a pale patch.
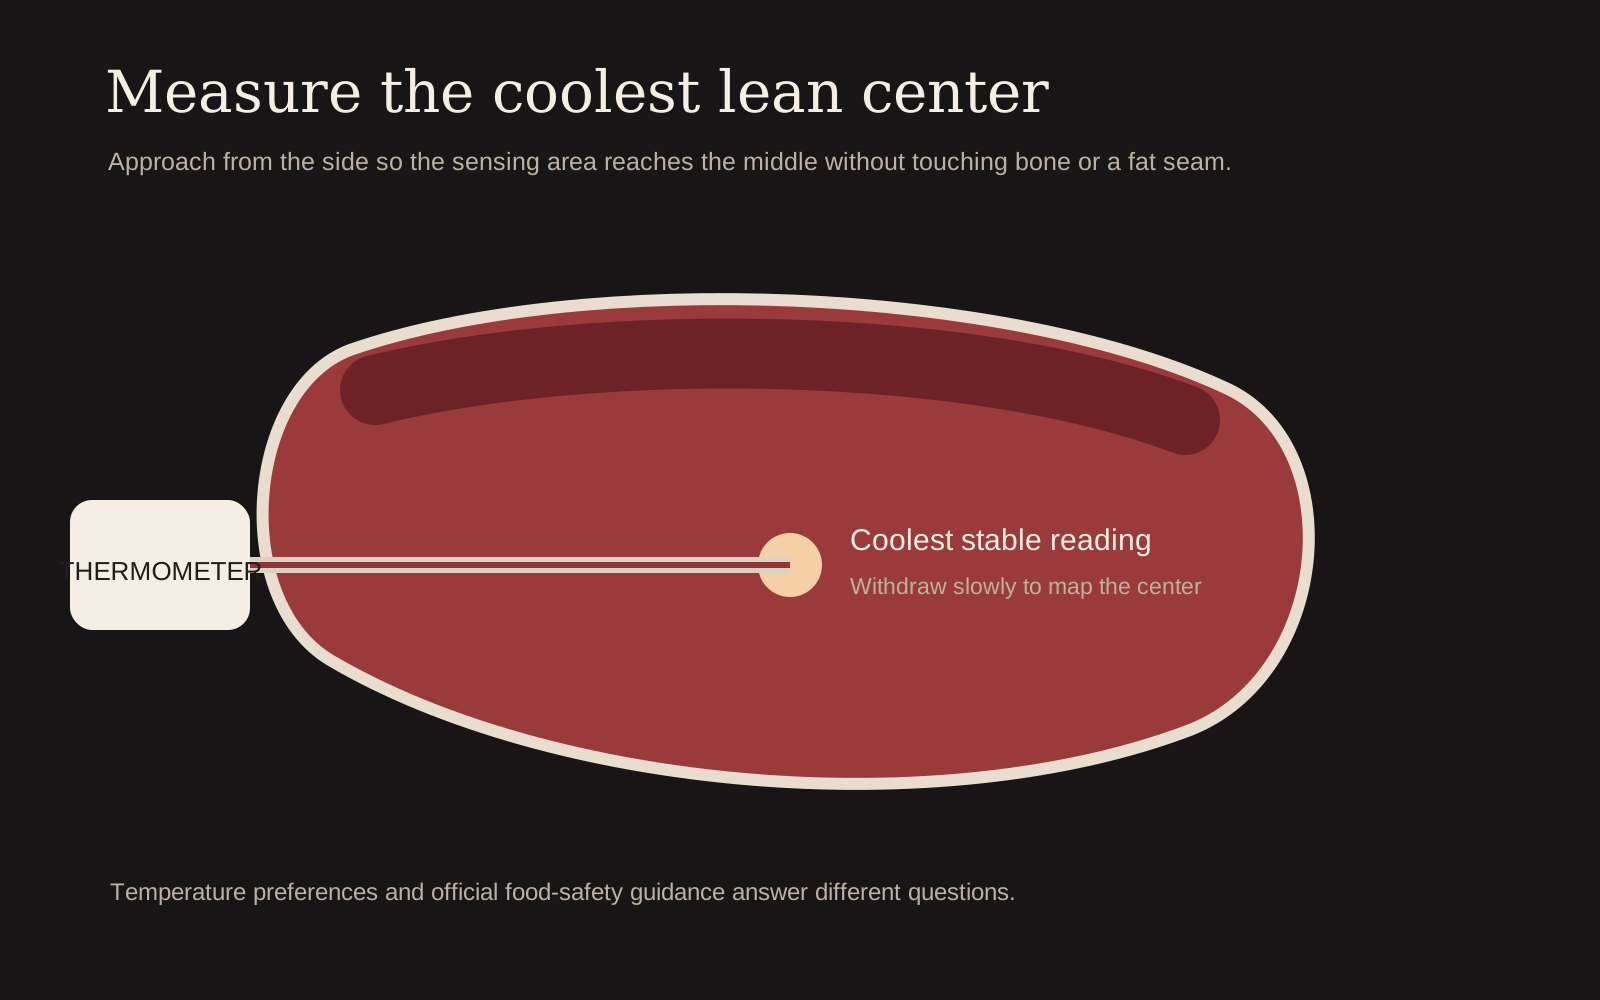
- Choose the probe path. Insert from the side into the coolest central area, avoiding bone and large fat pockets.
- Prepare a gentler zone. A cooler burner, indirect grill zone or lower oven gives you a place to finish without burning the crust.
- Name the resting surface. A rack preserves crust better than a deep plate that traps steam beneath the steak.
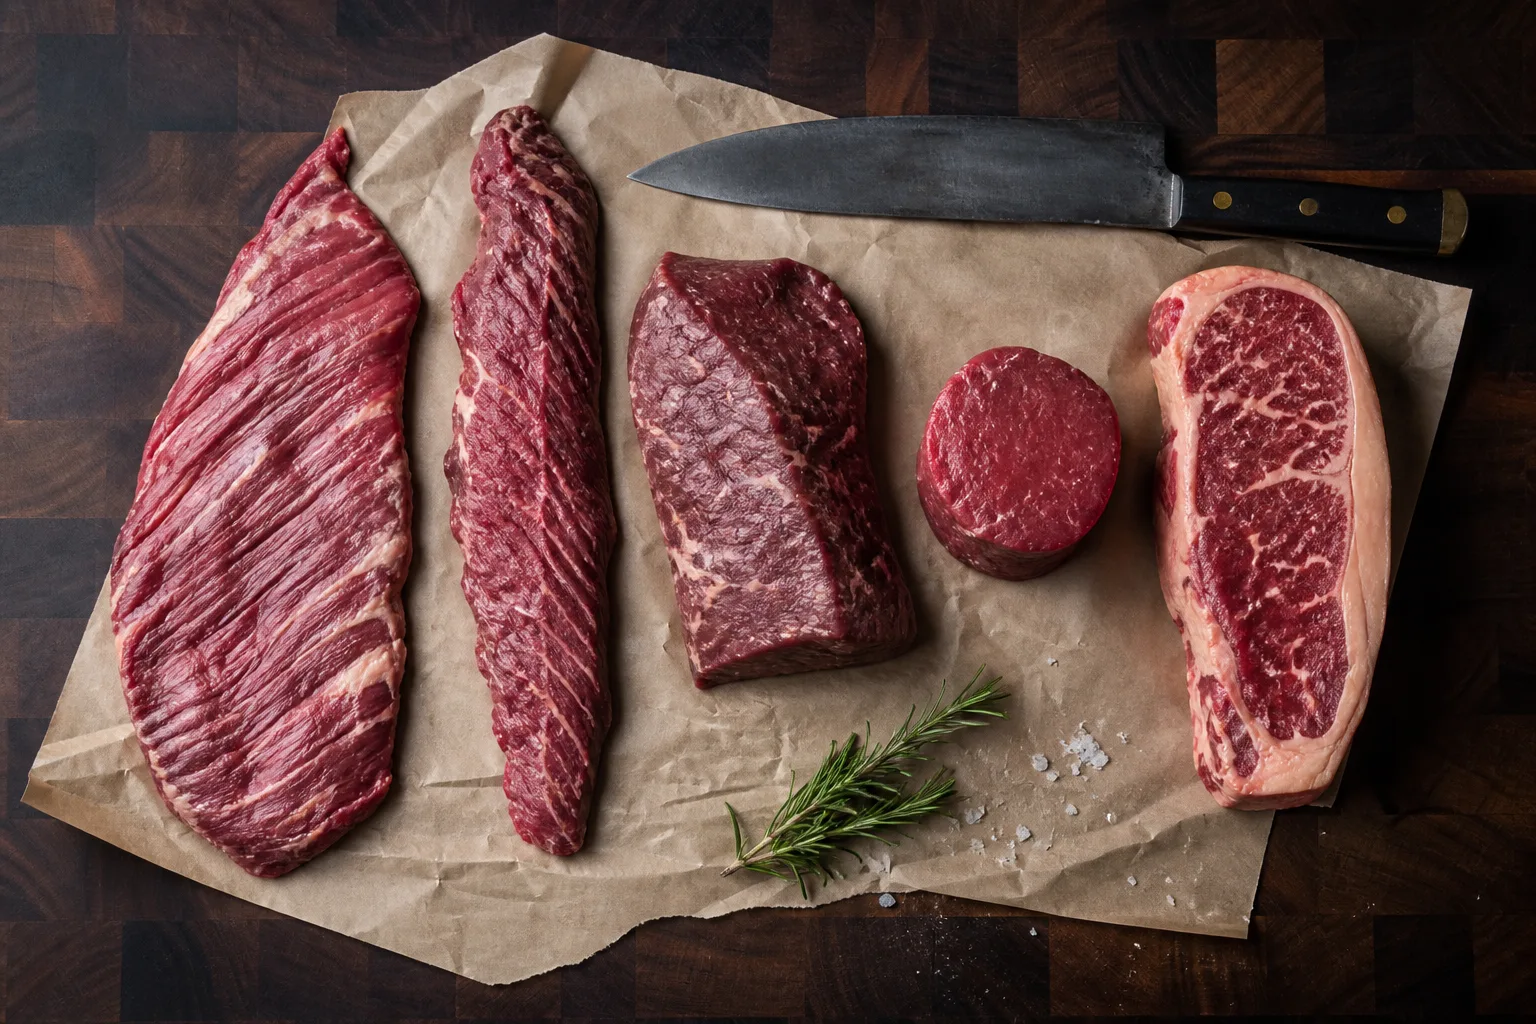
Compare the full workflow with our complete steak cooking guide. If the cut itself is unfamiliar, start with the steak cuts directory so muscle, grain and trimming guide the technique.
Control Browning and Center Temperature Separately
The gentle phase should dry the exterior while bringing the center up evenly; the final sear supplies color, not several more minutes of internal cooking. Crust and center temperature are related, but they are not the same measurement. Surface browning responds to dryness, direct energy and contact; the center responds mostly to thickness, temperature gradient and time. If the exterior is ready first, reduce the heat. If the center is ready first, the next attempt needs a drier surface or a stronger, shorter sear.
| Signal | What it usually means | Response |
|---|---|---|
| Weak sizzle | Surface or cooking surface is too cool | Pause, avoid crowding and restore heat |
| Black spices before crust | Fine seasonings are scorching | Use simpler early seasoning and finish later |
| Uneven reading | Probe is near fat, bone or a hot edge | Check from a second direction |
| Gray band expanding | Too much time over aggressive heat | Move to gentler heat sooner |
| Juice pooling during rest | Deep plate or premature slicing | Use a rack and complete the rest |
Take two readings when geometry is irregular. Thick bone-in steaks may have different thermal zones, while thin steaks can change several degrees during the time needed to reposition a probe. The goal is not to perforate the meat repeatedly; it is to confirm that one surprising number is real before acting on it.
Finish, Rest and Evaluate the Result
Blot any new surface moisture immediately before searing and turn frequently if that gives better control over darkening. Add butter, sugar-bearing sauces, fresh garlic and delicate herbs late enough that they flavor the steak without burning. Resting then allows the steepest temperature gradient to ease. Large steaks carry over more than thin steaks, so record the actual change rather than assuming a universal number.
A broad gray band usually means the final sear lasted too long or the steak entered it too close to the finished center temperature. If the result misses, change one major variable on the next cook. A lower pull temperature cannot fix a wet surface; a longer rest cannot repair slicing with the grain; more smoke cannot compensate for dirty combustion. A narrow adjustment produces evidence you can use.
Complete the plate only after tasting a center slice. Reduced sauces, compound butter and salty seasonings can make an already well-seasoned steak harsh. Acid, fresh herbs and crisp vegetables often improve balance without covering the beef.
Frequently Asked Questions
What steaks should not be reverse-seared?
Thin steaks and very small medallions are usually better with a fast direct cook.
Do I need to rest between oven and sear?
Only as long as needed to prepare the sear. Track center temperature; the final rest after searing matters more.
Can I reverse-sear on a grill?
Yes. Use the indirect zone first and a fully hot direct zone to finish.