What Caveman Steak Actually Means
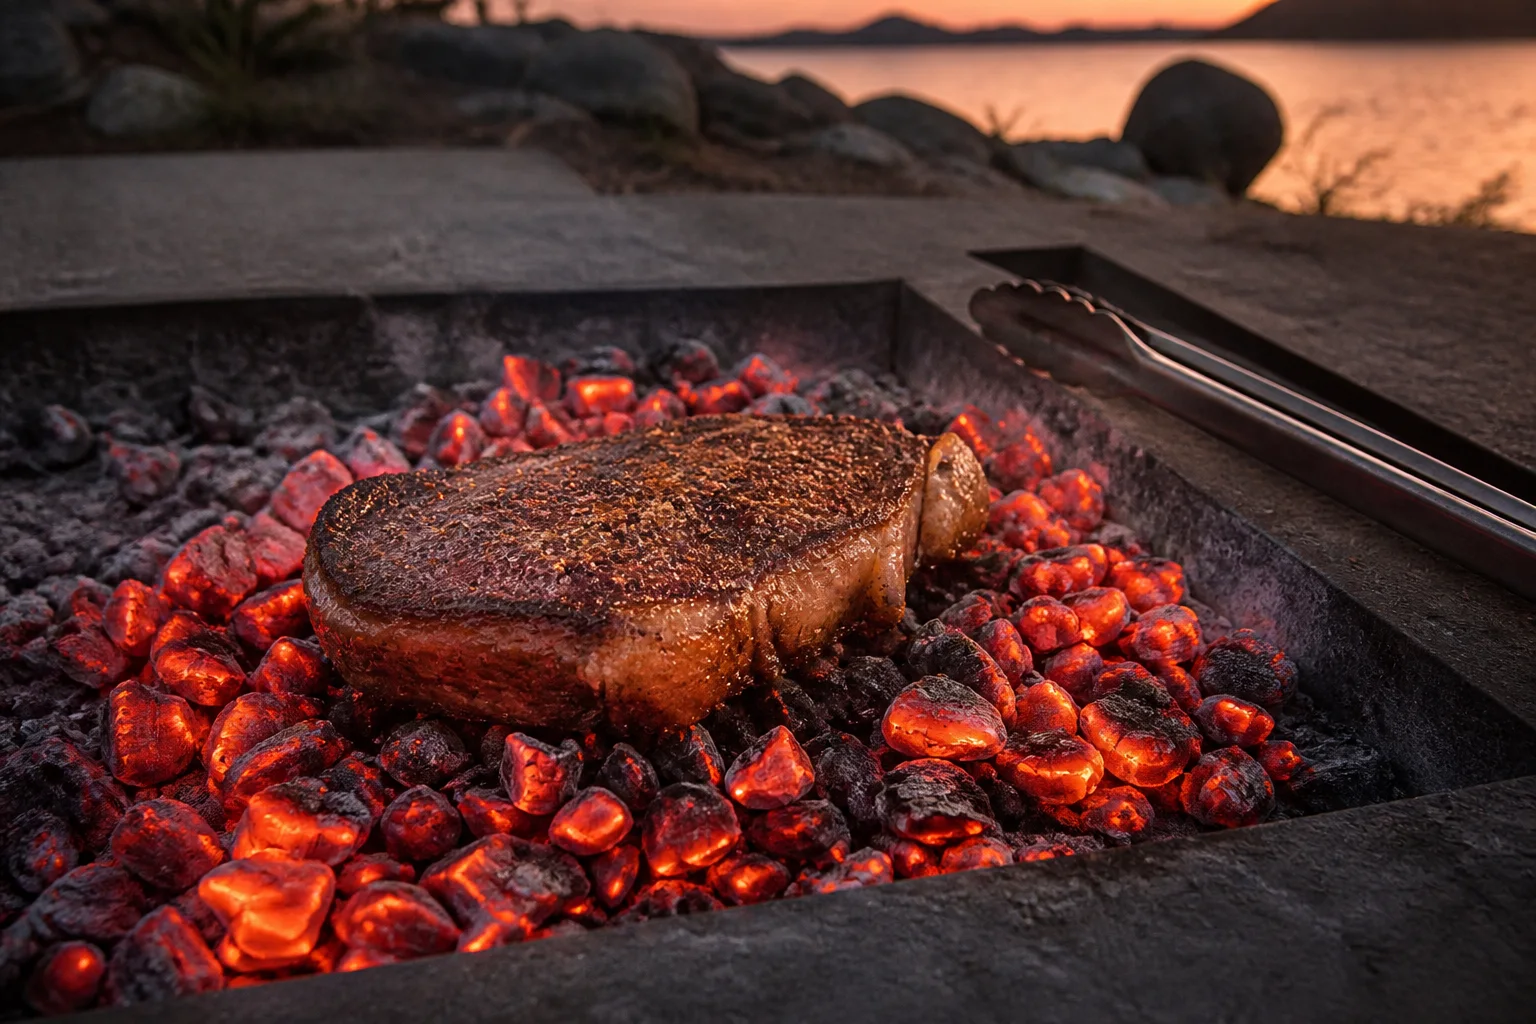
Caveman steak, also called dirty steak, places an unwrapped steak directly on a prepared bed of food-safe hardwood embers instead of on a grate. The name describes a starting condition or heat-contact method, not a cut. Thickness, muscle structure, surface moisture and the real heat source still decide how quickly the exterior and center move.
A sound method separates culinary preference from safety. Use the steak temperature guide for probe placement and the official minimum, then use the actual steak's geometry to decide when to begin checking. Fixed minutes cannot account for every freezer, coal bed, pan or cut.
This guide fits inside the larger how to cook steak framework: dry the surface where possible, build controllable heat, measure the coolest lean center, rest deliberately and slice across the grain when the muscle requires it.
Choose a Steak That Fits the Method
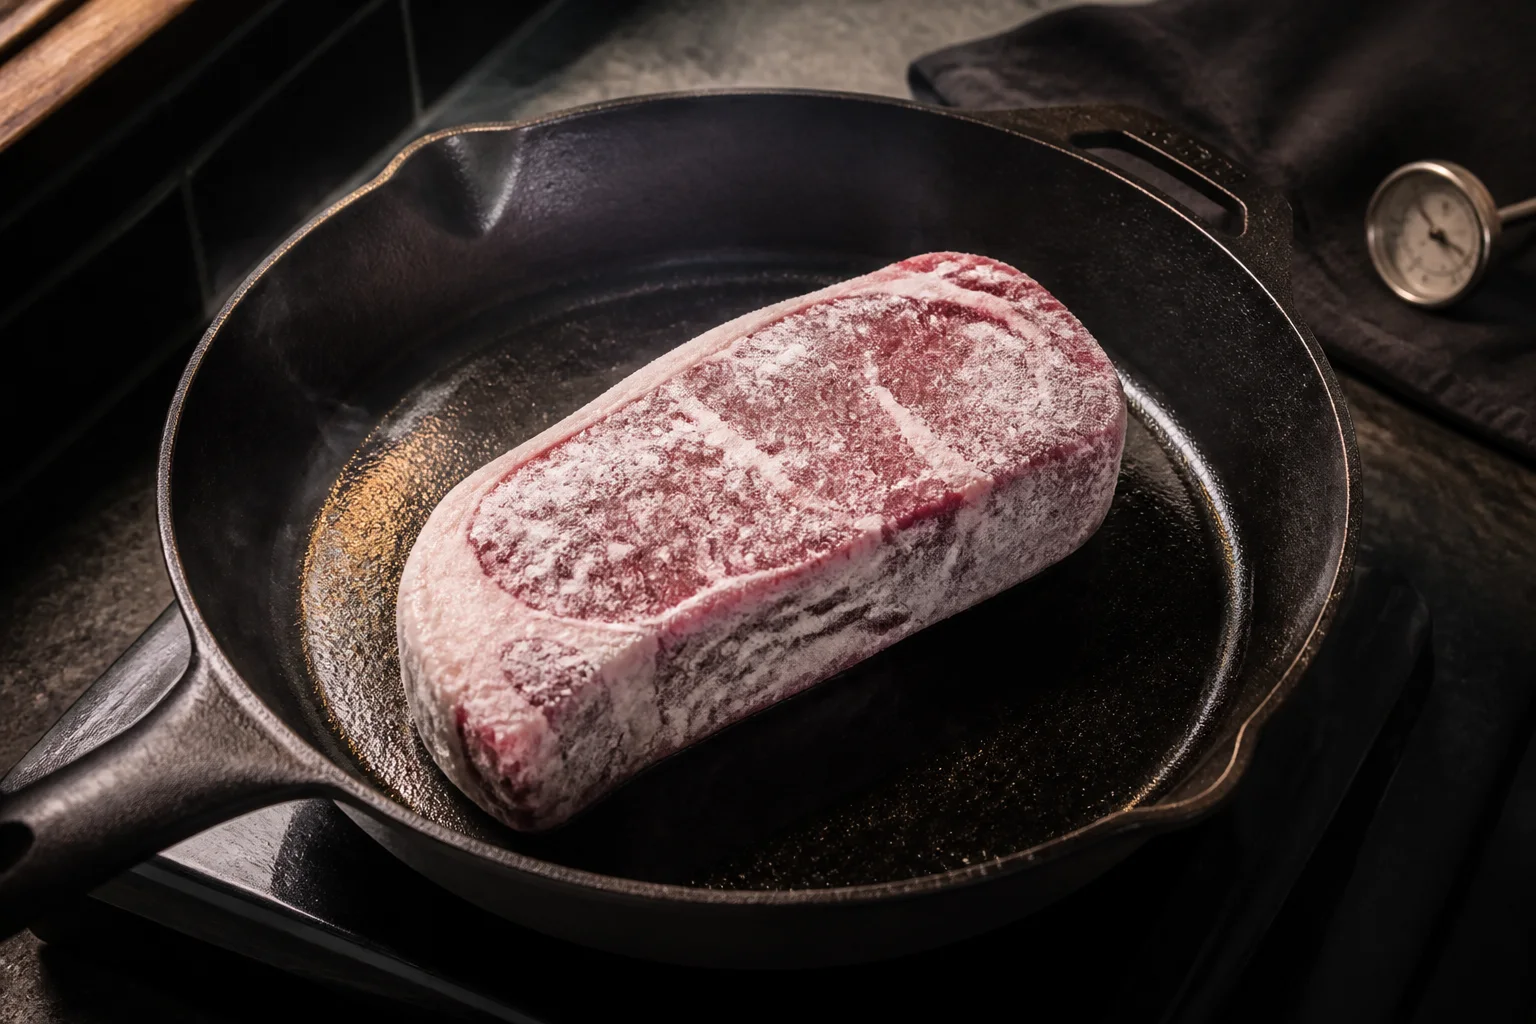
Choose a thick, compact strip, ribeye or sirloin without loose flaps or a very thick fat cap; thin steaks can overcook before both faces brown, while excessive fat can cause flare-ups. An evenly shaped steak is more forgiving than one with a thin tail or an oversized hard seam. Compare actual thickness, not package weight, and avoid assuming that an expensive label makes unsuitable geometry easier to cook.
- Measure thickness. A ruler gives a more useful starting point than ounces because heat travels from the surfaces toward the center.
- Map fat and bone. Thick exterior fat needs controlled rendering; bone and internal seams create uneven heating and can mislead probe placement.
- Read the label. Follow storage, thawing, mechanical-tenderization and safe-cooking directions printed on the product.
- Plan a second zone. A lower burner, indirect grill area or cooler section of the fire prevents a dark crust from becoming a burned crust.
Set Up Before the Steak Meets Heat
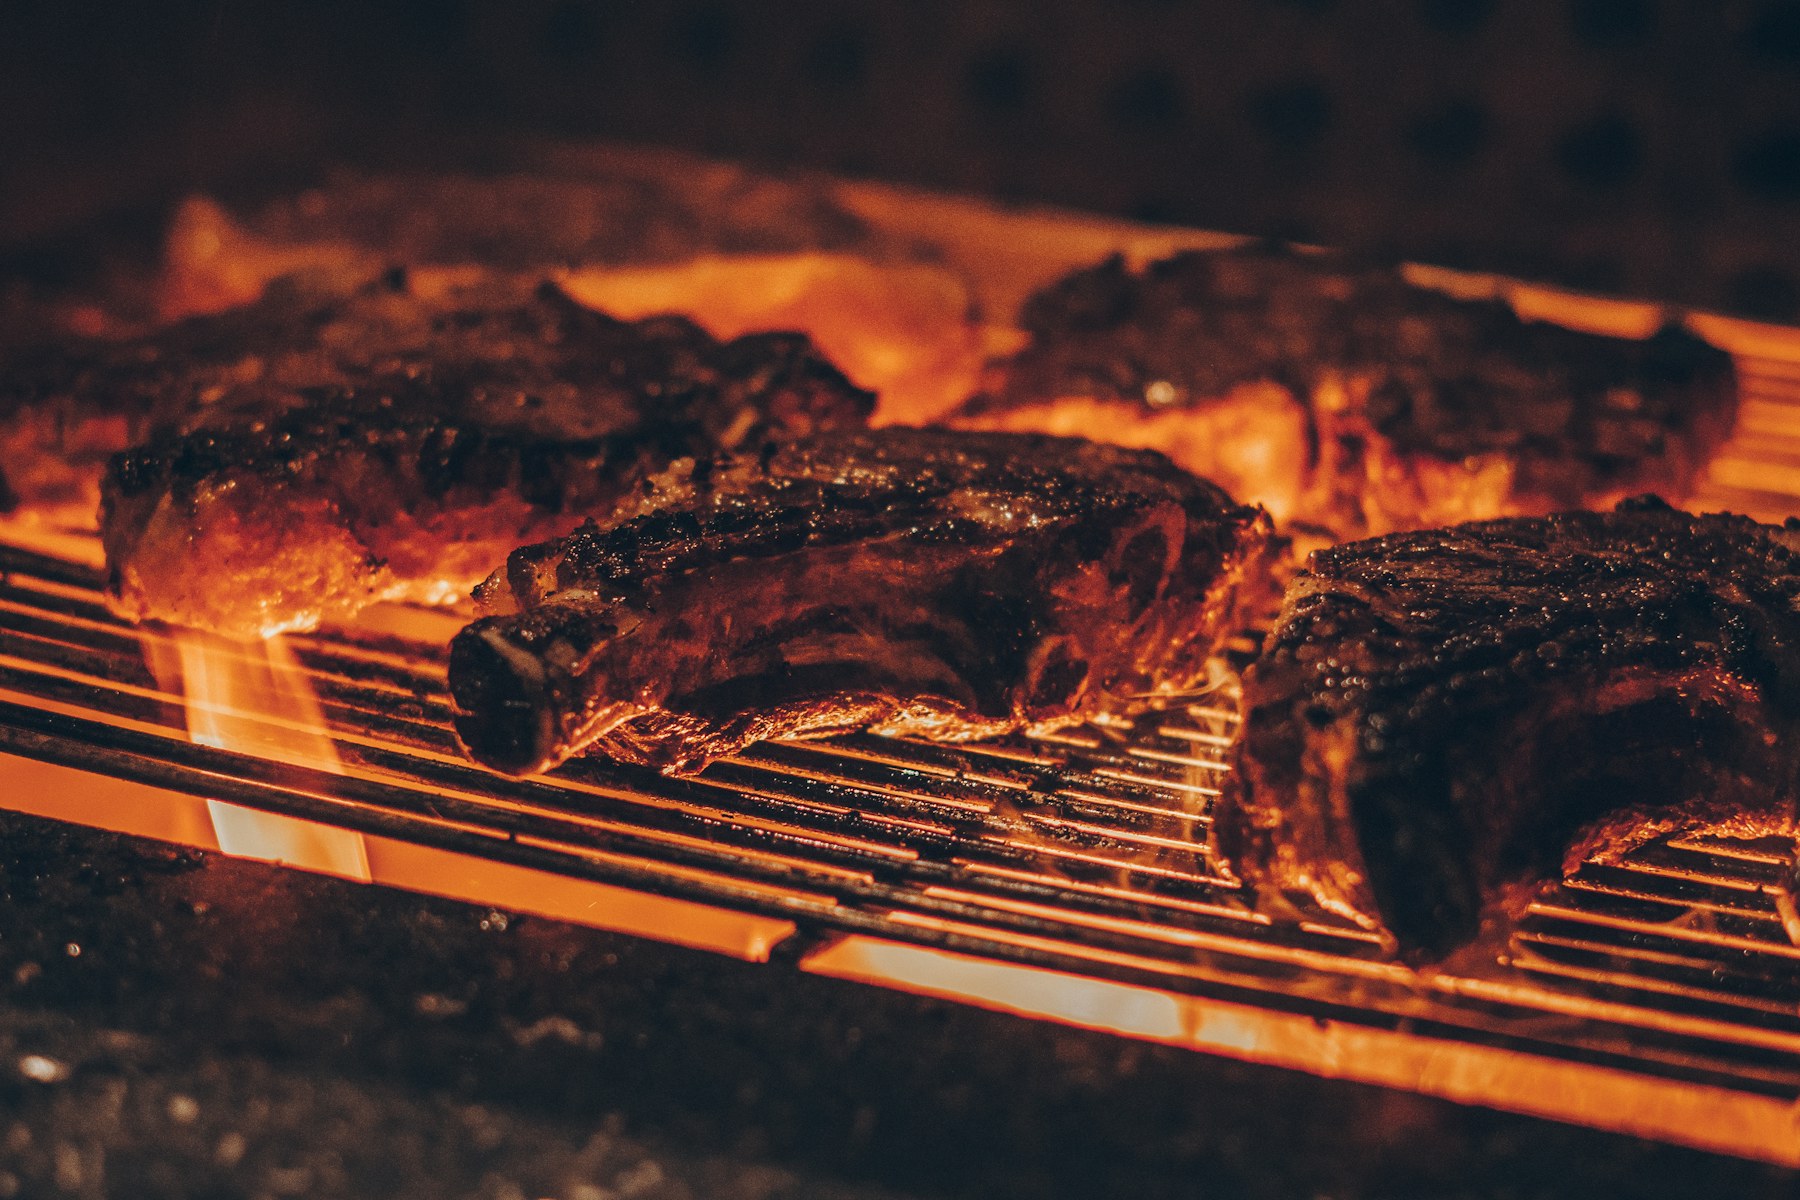
Burn untreated natural lump charcoal or clean hardwood to a stable red ember bed, reserve a cooler indirect zone and never use painted, construction, pallet or chemically treated wood. Keep raw-beef tools separate from cooked-food plates and prepare the thermometer before high heat begins. A frantic search for tongs or a clean board is enough time to overshoot a thin steak.
Ventilation, a stable cooking vessel and heatproof gloves are practical parts of the recipe. Arrange the work so raw packaging can be discarded, hands can be washed and the cooked steak can land on a clean rack without crossing the raw zone.
Step-by-Step Method
- Step 1: Light natural fuel early and wait until visible flames subside and a deep, even ember bed forms. Keep a separate cooler zone available.
- Step 2: Knock loose ash from the selected coals with long tongs or a grill rake, then fan gently so the contact surface is glowing rather than dusty.
- Step 3: Dry and salt the steak. Lay it flat on the clean embers without wrapping, pressing or adding butter that can feed a flare-up.
- Step 4: Lift with long tongs after the first controlled browning, dislodge any attached coal and turn onto a fresh clean section of embers.
- Step 5: Move the steak to the grate over indirect heat before the exterior scorches. Probe the coolest lean center from the side and turn as needed.
- Step 6: Rest on a clean rack, brush away any loose ash without rinsing the crust, verify temperature and slice across the grain.
- 01Inspect and measure the steak
- 02Prepare two levels of heat
- 03Build the first controlled browning
- 04Move or turn before scorching
- 05Probe the coolest lean center
- 06Rest and carve
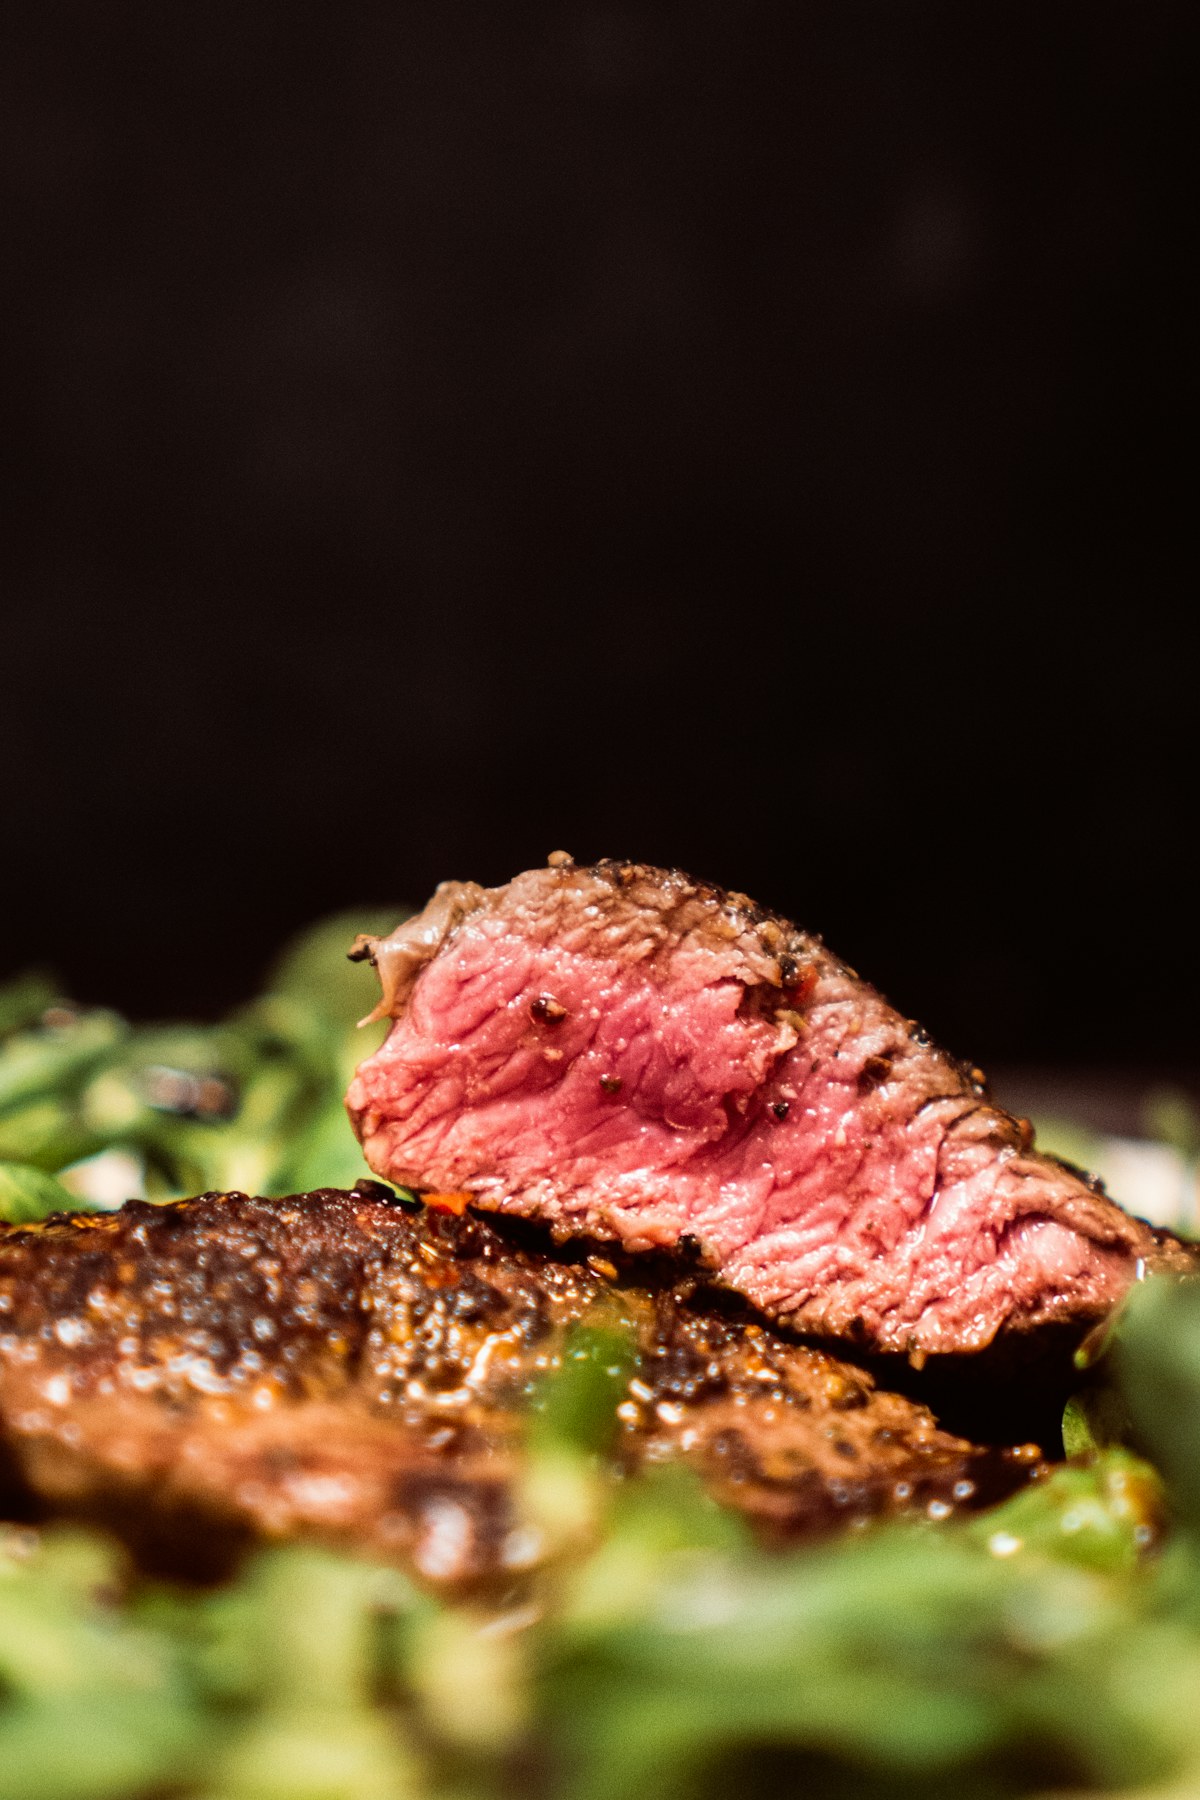
The ember bed should glow steadily without chemical odor, heavy smoke or tall flame. If rendered fat ignites, move the steak immediately rather than letting soot and bitter smoke coat the crust. Insert an instant-read probe from the side when practical and move it slowly through the center; the lowest stable reading is more informative than a hot surface-adjacent number. Check more than one location in an irregular steak.
Troubleshooting the Method
| Problem | Likely cause | Correction |
|---|---|---|
| Bitter, sooty crust | Active flames or dirty smoke | Wait for clean embers and move away from flare-ups |
| Ashy mouthfeel | Loose gray ash on the contact bed | Expose glowing coal and brush the rested steak |
| Burned fat edge | Oversized cap over direct heat | Trim loose fat and use the cooler zone |
| Overdone center | Steak too thin or checked too late | Use a thicker even cut and probe early |
Most failures come from a mismatch between heat intensity and steak thickness. Surface moisture delays browning, uncontrolled flame blackens fat before the center moves and checking too late leaves no room to correct. Change one variable at a time and record what happened.
For a second attempt, note the cut, thickness, starting condition, heat arrangement, first-check time, pull temperature and rest. That small log creates a method for your equipment instead of repeating a generic timing chart.
Resting, Slicing and Storage
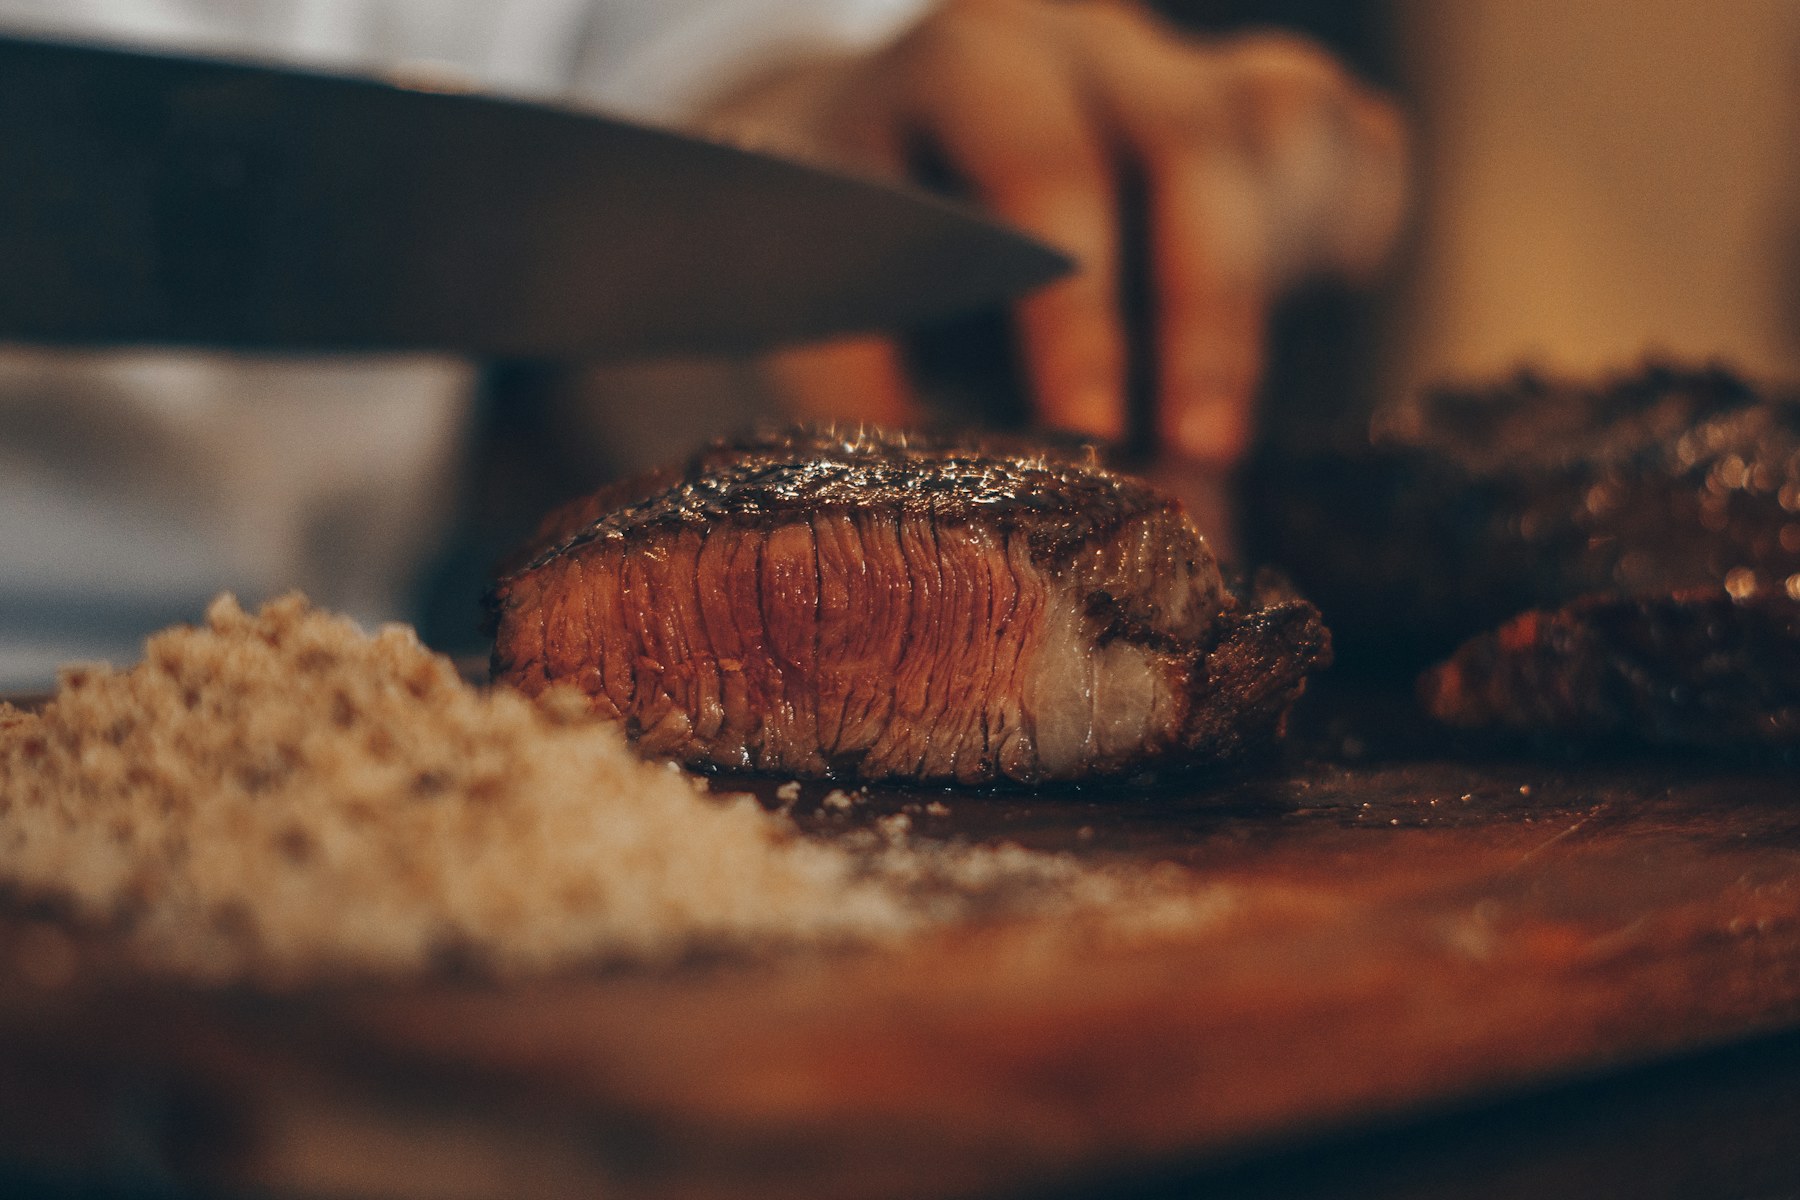
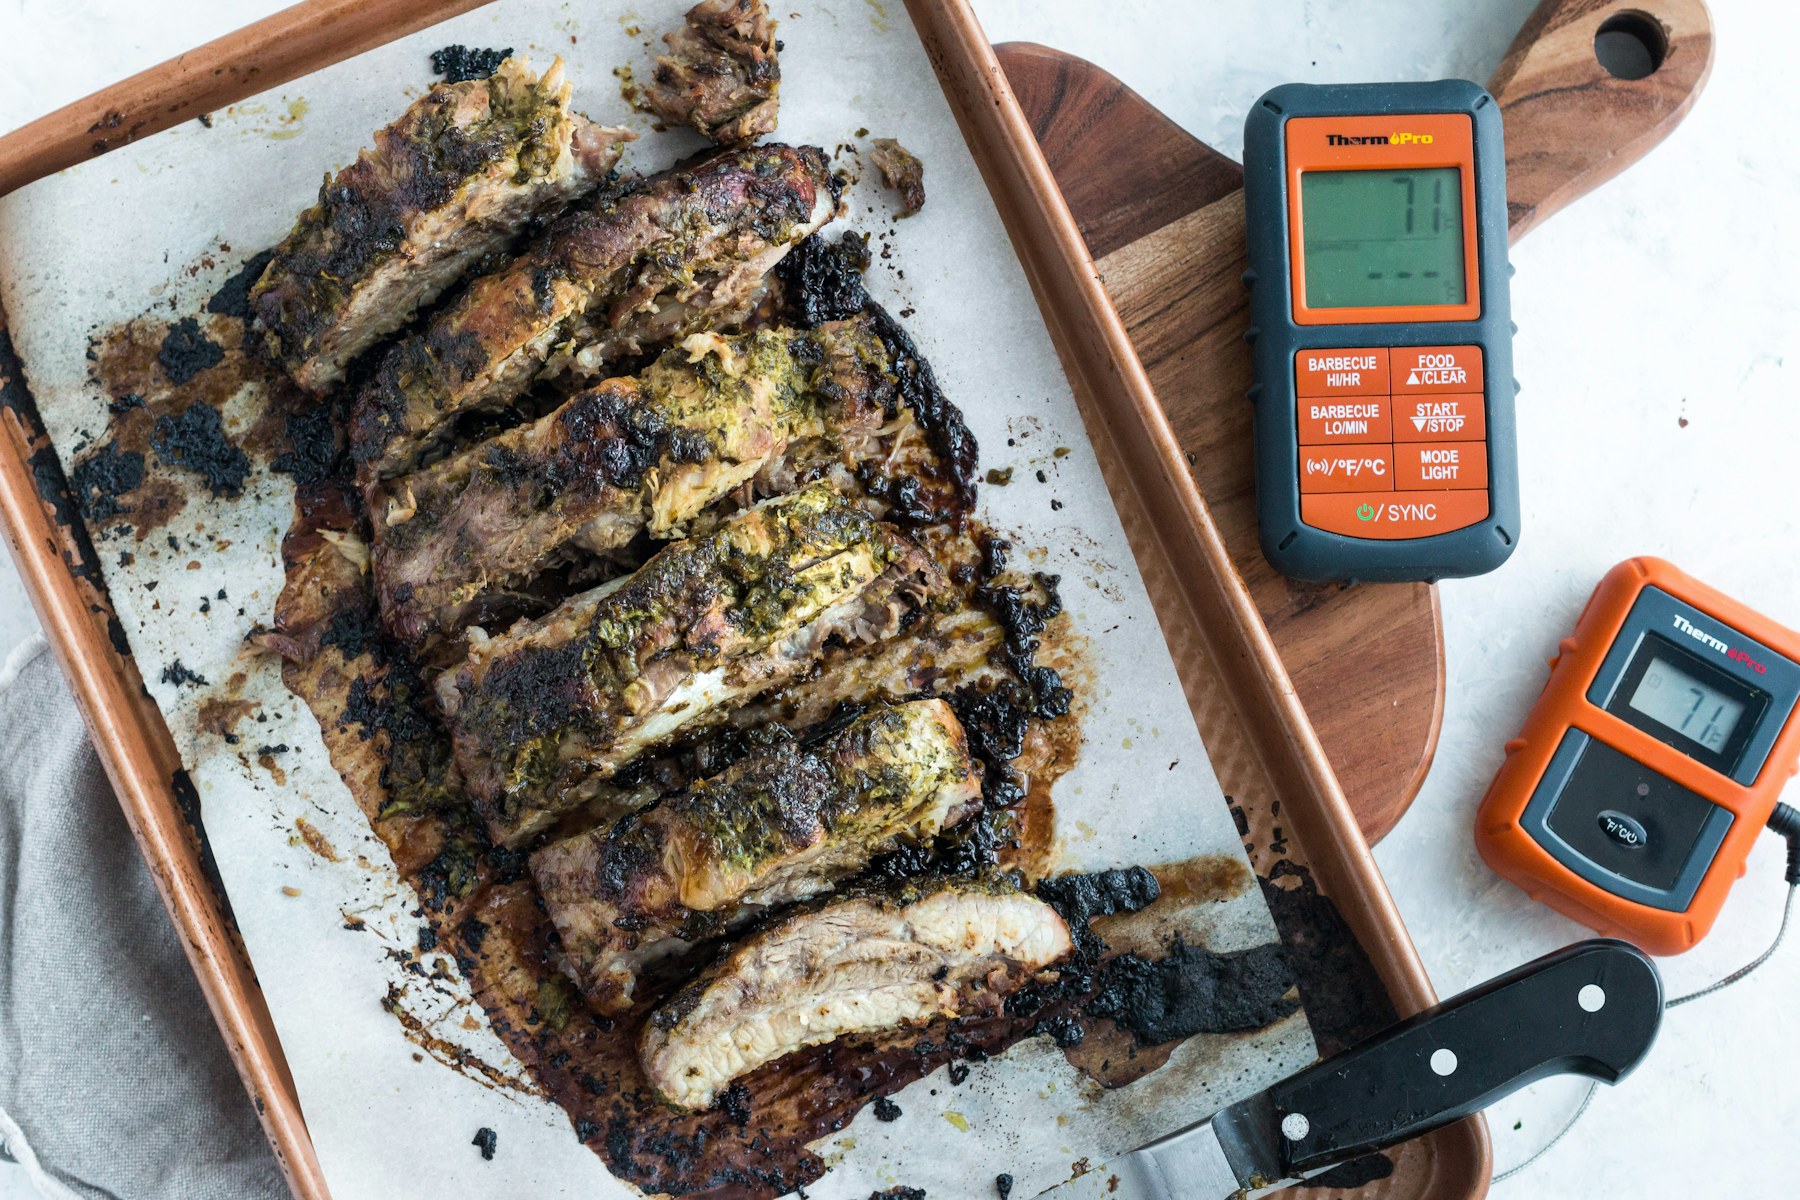
Rest on a warm rack or board so carryover can settle without trapping steam against the crust. A thin steak needs only a short rest; a thick steak retains more energy and needs a longer pause. Measure again if the center was close to a limit.
Identify the grain before carving. If it changes direction, divide the steak into sections and rotate each before slicing. Cutting across the fibers cannot repair overcooking, but it can make a strongly grained cut easier to chew.
Serve from a clean cooked-food board, not the raw-beef tray or a surface used for fuel. Cool leftovers promptly and keep ash-handling tools separate from serving utensils. Refrigerate perishable leftovers promptly in a shallow covered container. When reheating leftovers, USDA guidance calls for 165°F; often the best quality choice is to slice only what you need and warm it gently.
Continue with grilled steak, how to cook steak, steak temperature, reverse sear steak, ribeye steak, new york strip steak for the cuts, temperature rules and adjacent methods behind this technique.
Where This Guide Fits
This page supports the broader how to cook steak guide. Use that pillar page for the complete cut family, buying framework and links to every closely related article.
Useful next reads include Frozen Steak for nearby cuts, methods and decisions.
Frequently Asked Questions
Is caveman steak safe?
It can be when the heat source is food-safe, cross-contamination is controlled and the coolest center reaches the applicable safe temperature measured with a thermometer.
What cut works best for caveman steak?
Choose a thick, compact strip, ribeye or sirloin without loose flaps or a very thick fat cap; thin steaks can overcook before both faces brown, while excessive fat can cause flare-ups.
Can I cook by minutes per side?
Use time only to schedule the first check. Thickness, starting condition and actual heat output vary, so internal temperature must make the final decision.
How should the steak be sliced?
Rest first, identify the grain and carve across it. Divide cuts whose grain changes direction before slicing each section.
Sources & further reading
- USDA FSIS — Safe Minimum Internal Temperature Chart — Official minimum temperatures for intact beef steaks and reheated leftovers.
- USDA FSIS — Keep Food Safe! Food Safety Basics — Official cross-contamination, cooking temperature and storage guidance.