Start With the Right Steak
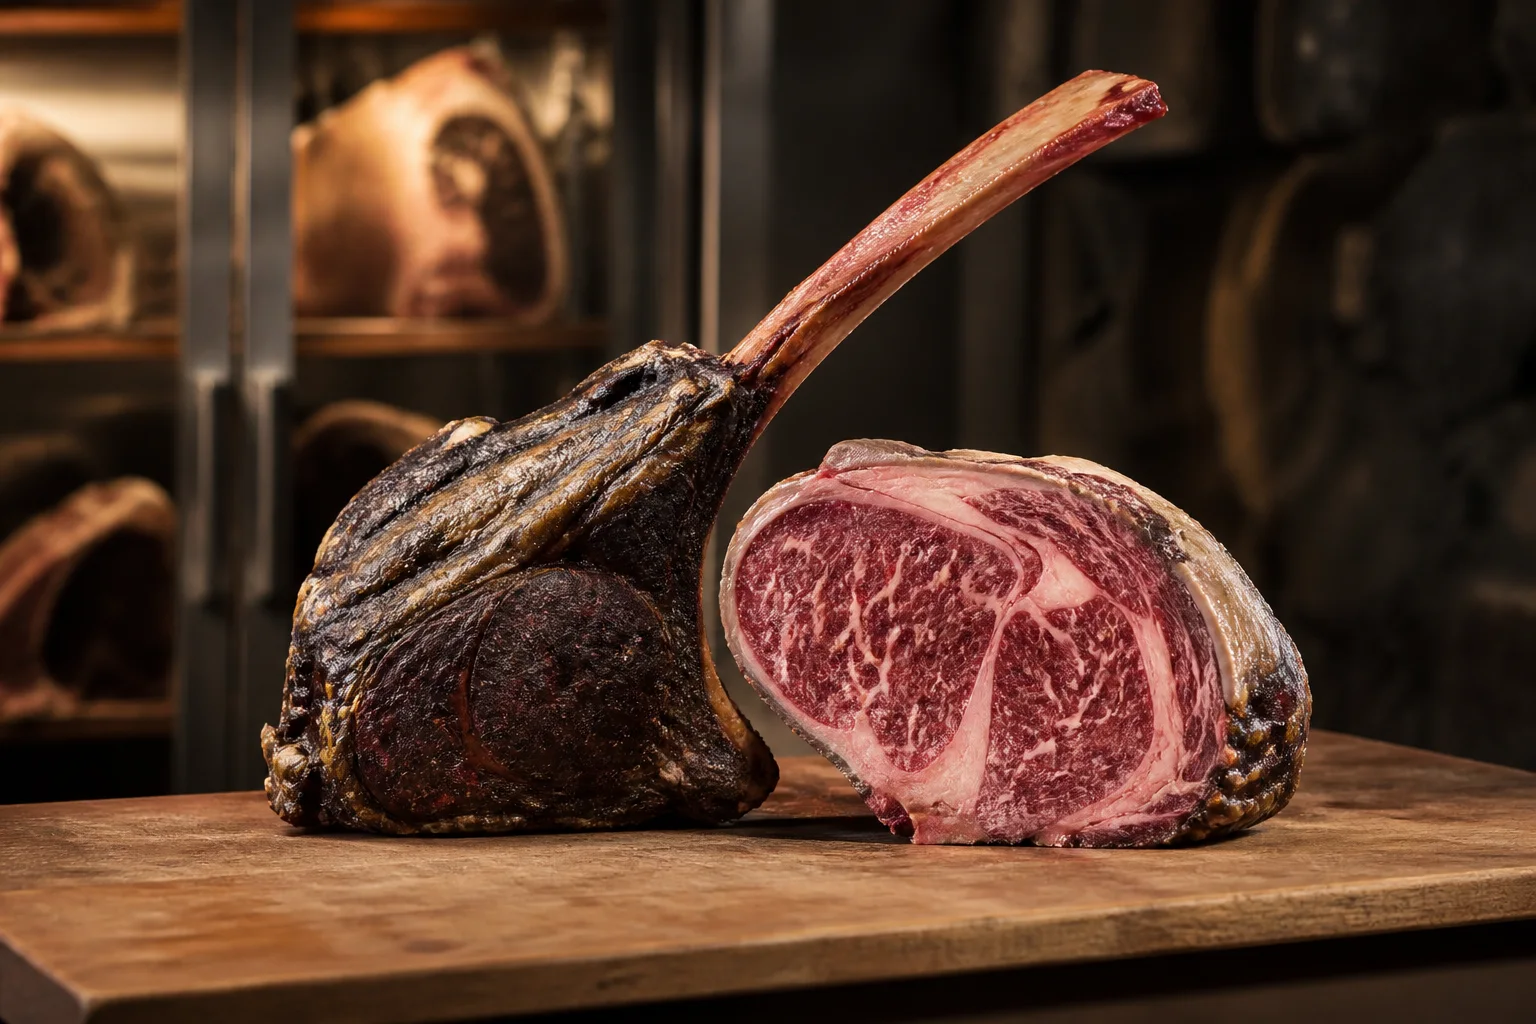
Choose an evenly cut steak at least about two inches thick, with fine marbling through the eye and a visible outer cap. The tomahawk cut guide explains the ribeye anatomy and how the long bone changes value more than flavor.
Make sure the steak will fit your oven, grill and finishing pan. If the bone makes indoor cooking awkward, a shorter bone-in ribeye produces the same essential eating experience.
Dry Brine and Prepare
Salt the steak evenly and refrigerate it uncovered on a rack for 12 to 24 hours. This seasons below the surface and dries the exterior. Before cooking, pat dry and add pepper only if your searing temperature will not burn it. Keep compound butter until the end.
- Preheat the low-heat cooker completely.
- Insert a leave-in probe sideways into the thickest part of the eye.
- Set up the high-heat finishing zone before the steak approaches its target.
- Keep clean tongs and a fresh platter ready to avoid cross-contamination.
Choose the Cooking Method
| Method | Best for | Cooking style | Equipment | Difficulty | Flavor |
|---|---|---|---|---|---|
| Reverse-sear oven | Precision indoors | Low oven, hot skillet | Rack, tray, thermometer, skillet | Easy | Clean beef and browned butter |
| Two-zone grill | Live-fire crust | Indirect grill, direct finish | Lidded grill, thermometer | Moderate | Char and light smoke |
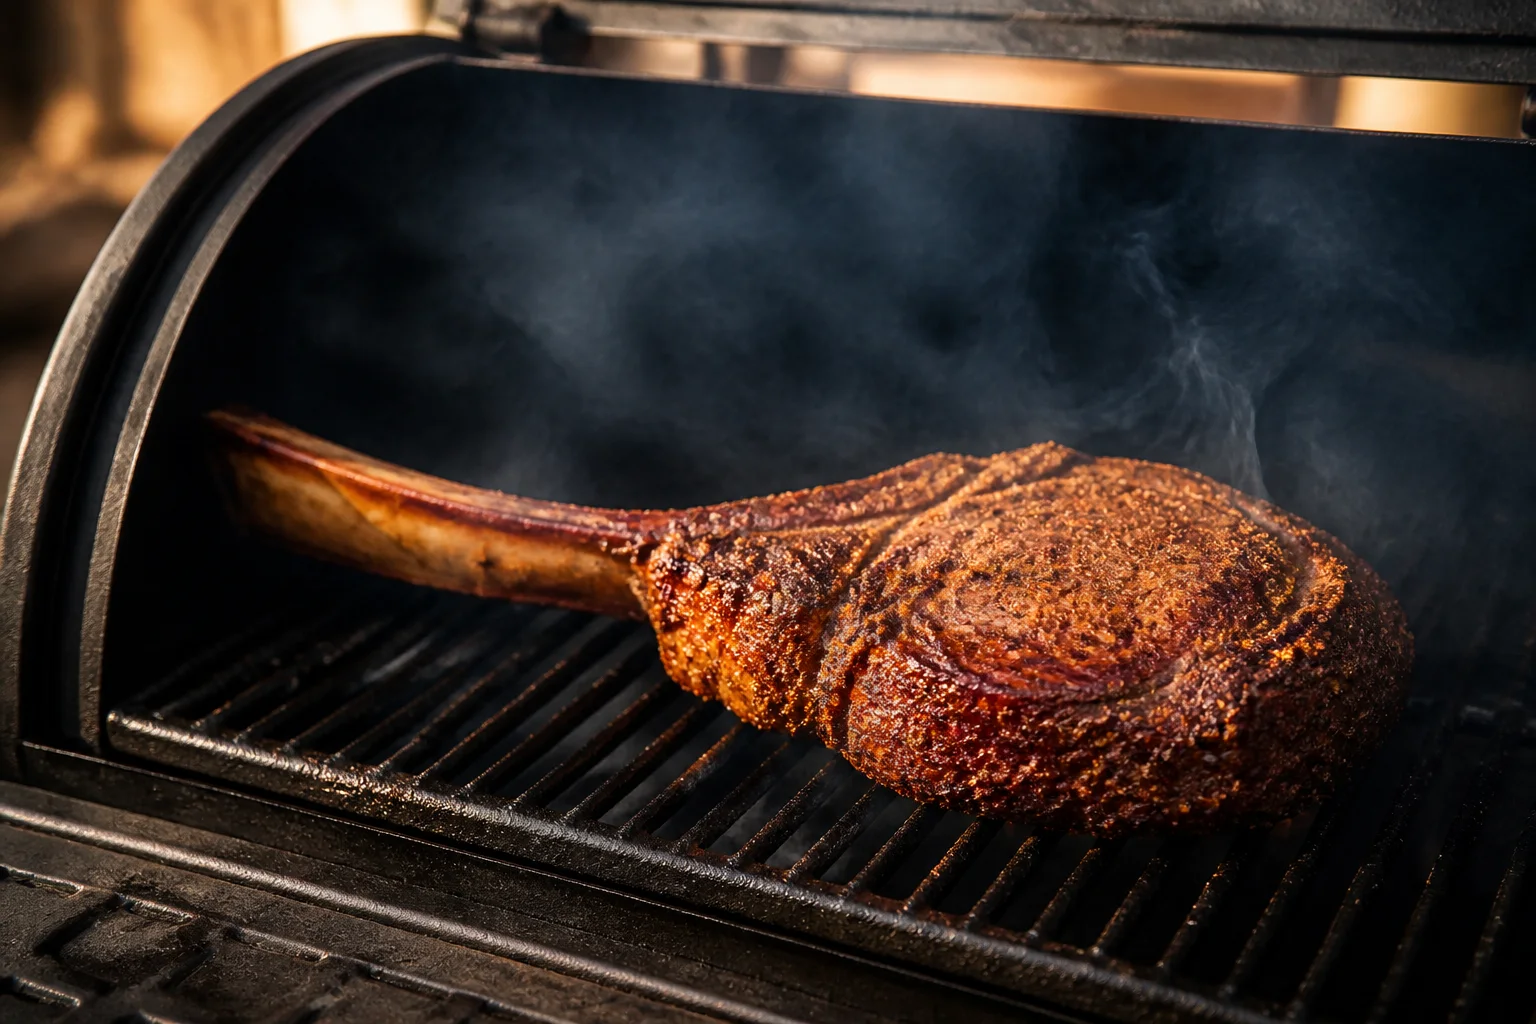
| Smoker + sear | Pronounced smoke | Low smoke, separate sear | Smoker and grill/skillet | Moderate | Wood smoke and deep crust |
| Indirect oven roast | Simple equipment | Moderate oven, optional broil | Rack and tray | Easy | Roasted, less charred |
For a smoke-forward version, follow the dedicated smoked tomahawk sequence. For a concise ingredient-led workflow, use the tomahawk recipe.
The Reverse-Sear Method
- 01DRY BRINE
- 02LOW HEAT
- 03CHECK CENTER
- 04REST BRIEFLY
- 05SEAR
- 06FINAL REST
- 07SLICE
Heat an oven or indirect grill around 225–275°F. Cook on a rack so warm air reaches both sides. Rotate if the cooker has a hot spot. Begin checking well before your expected finish; thickness, bone, starting temperature and equipment recovery all change the pace.
Remove the steak before it reaches the final temperature you want because the sear and rest add heat. There is no universal subtraction that works in every kitchen. Watch the trend on the probe and confirm with an instant-read thermometer. The broader principles in our reverse-sear guide apply to other thick cuts too.
Build the Crust Without Burning the Fat
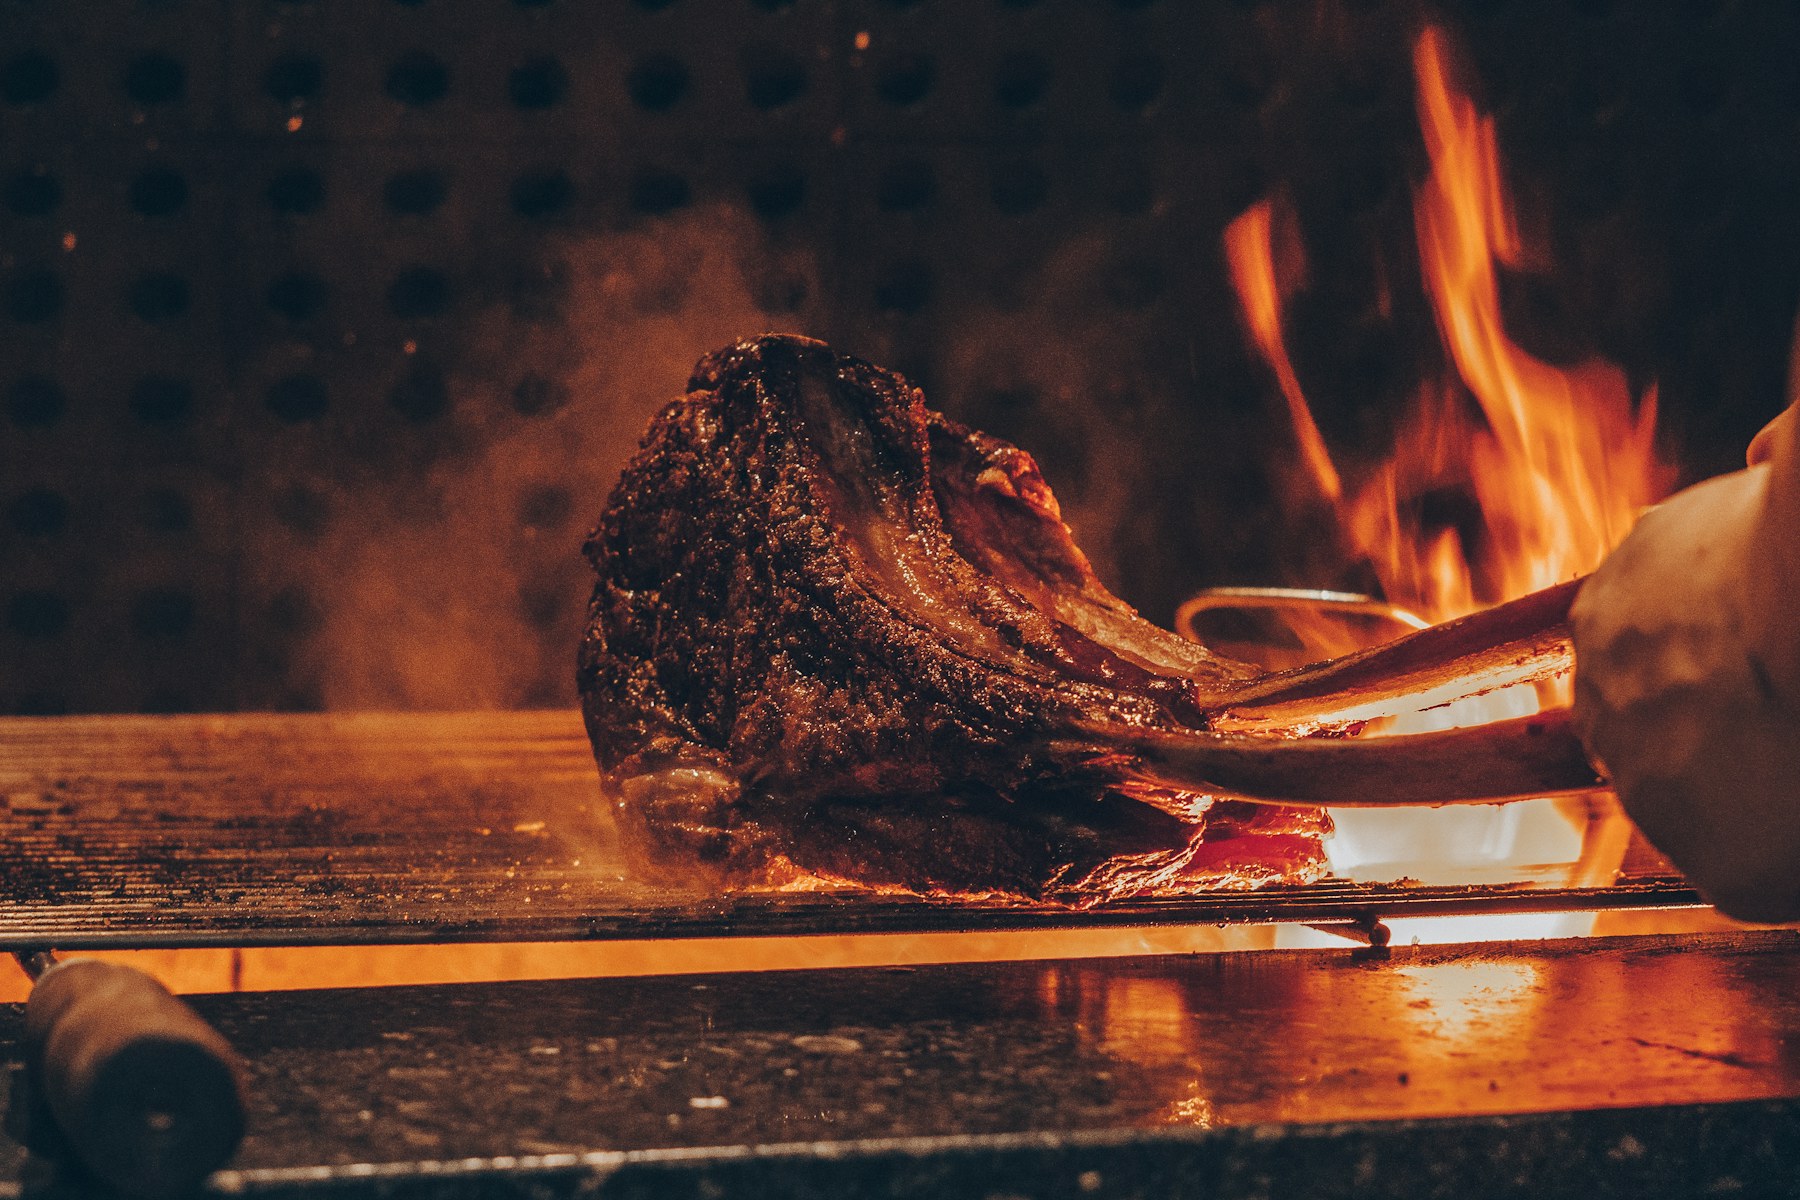
Dry the surface again, then sear over very hot grates or in a lightly oiled heavy skillet. Turn every 20 to 30 seconds for even browning and hold the fat edge against the heat briefly with tongs. Move away from flare-ups rather than letting soot settle on the steak.
Probe Placement, Carryover and Resting
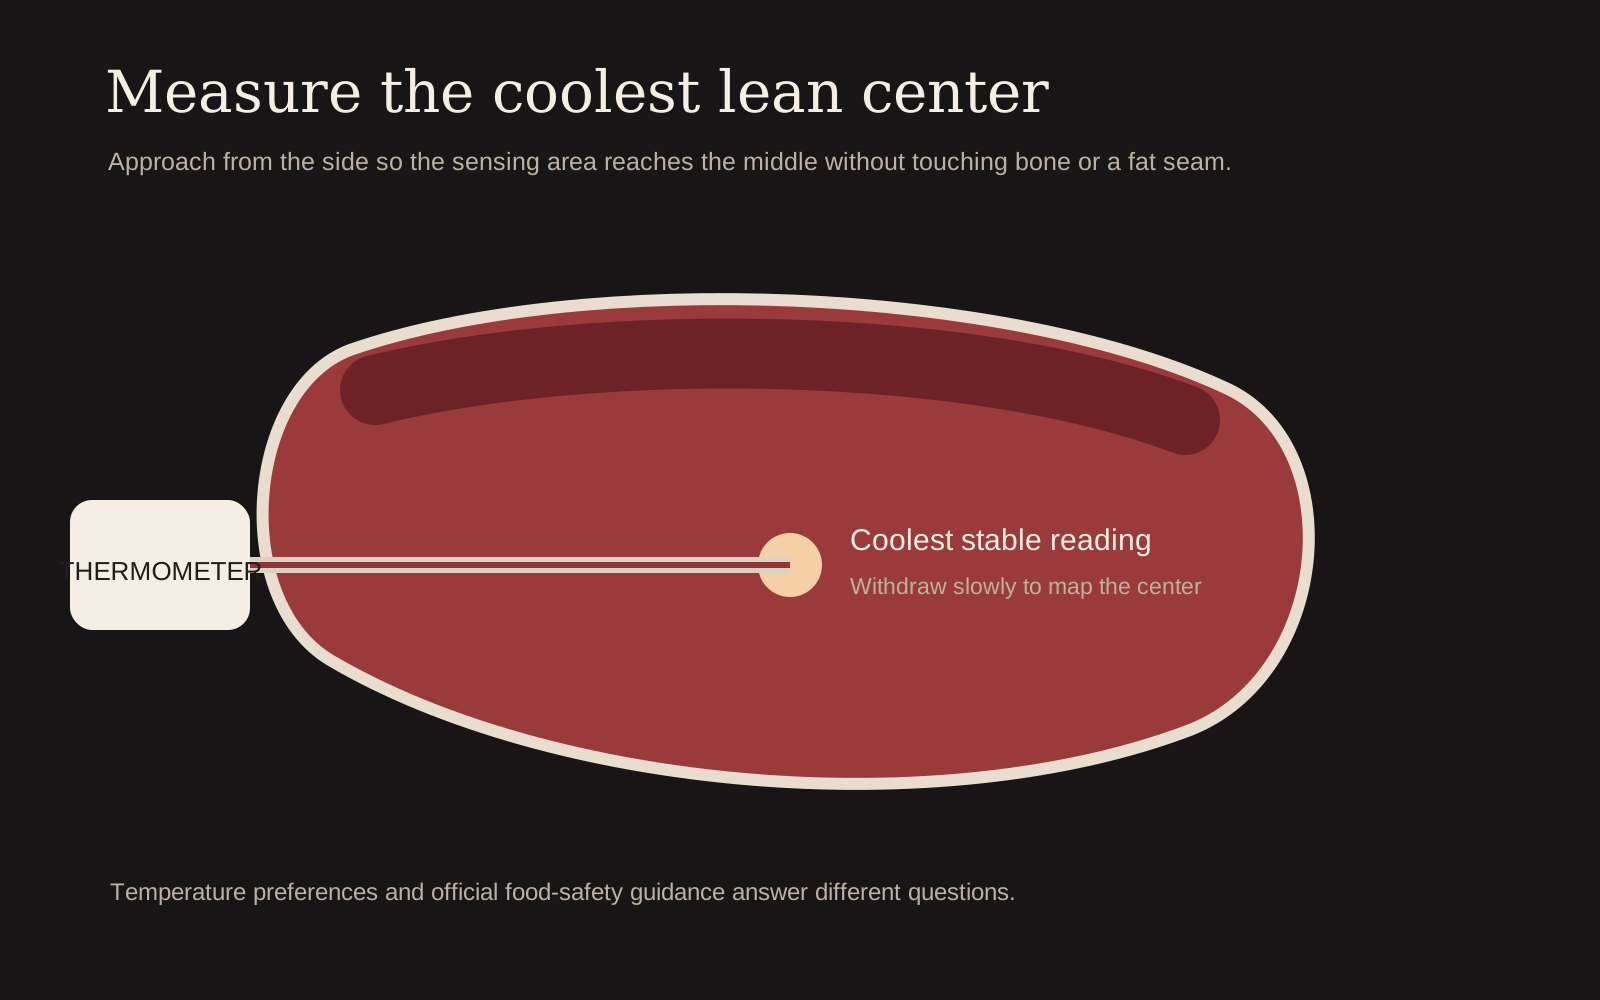
Insert the probe into the central eye from the side. If a reading jumps as you move the tip, you may be crossing a fat seam. Check more than one place. Consult the temperature and doneness chart for culinary ranges and the separate USDA safety recommendation.
Rest on a rack or board until the temperature rise slows. A 10–15 minute rest is common for a steak this large, but the actual curve matters. Keep the steak uncovered or tented very loosely so the crust remains crisp.
Slice and Serve
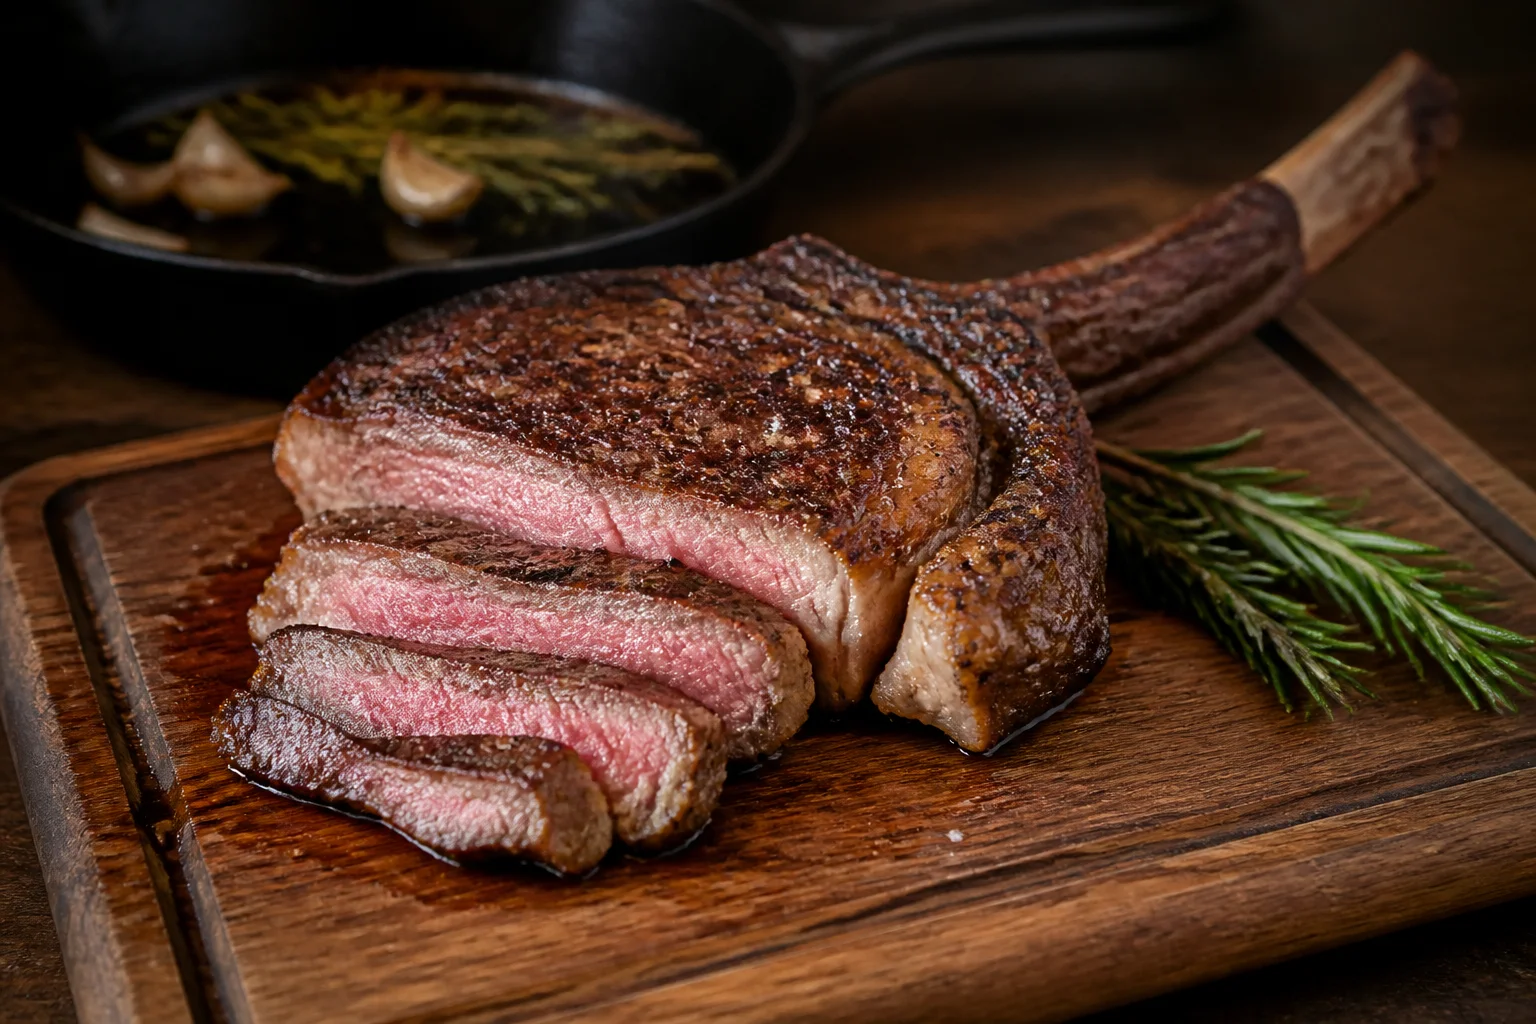
Cut along the rib to release the meat, identify the grain, and slice across it. Separate the cap if its grain turns. Serve on a warmed platter with board juices, flaky salt and a bright sauce; the steak sauce guide explains which sauces balance a fatty ribeye.
Troubleshooting
| Problem | Likely cause | Correction |
|---|---|---|
| Gray band | First stage too hot or sear too long | Lower the indirect heat; dry the surface for a faster sear |
| Pale crust | Wet surface or cool pan | Pat dry; preheat longer; work in short hot turns |
| Overdone near bone | Probe was in fat or too close to bone | Probe from the side into the central eye and verify |
| Bitter smoke | Smoldering fuel or grease fire | Use a clean-burning fire and manage dripping fat |
Choose a Complete Heat Plan
A thick tomahawk needs two heat jobs: gentle energy to warm the center and concentrated energy to brown the exterior. Decide where both will happen before seasoning. An oven plus skillet is the most repeatable indoor plan. A two-zone grill can perform both stages outdoors. A smoker still needs a hot grill, plancha or skillet for the finish.
Preheat the finishing surface before the steak reaches its handoff temperature. Waiting with a hot center while a skillet warms sacrifices the even interior created by the first stage. Keep clean tongs, a rack, thermometer, heat-safe tray and a clear escape zone within reach.
| Steak condition | Gentle stage | Final crust |
|---|---|---|
| Very thick, dry surface | Low oven or indirect grill | Short, frequent turns over high heat |
| Cold or damp surface | Dry first; begin checking early | Do not extend searing just to evaporate water |
| Heavy exterior fat | Position fat toward moderate heat | Move immediately from flare-ups |
| Bone prevents pan contact | Warm evenly in oven | Shift through several pan positions or use a grill |
Map the Center Instead of Taking One Reading
Insert the probe horizontally from the side until its sensing area reaches the center of the ribeye eye. A sudden high or low reading can mean the tip is in a fat seam or against bone. Withdraw slowly and look for the coolest stable lean reading, then confirm from a second angle.
The outer cap is thinner and often warmer than the eye, particularly near direct fire. Protect it during the gentle stage and give it just enough final contact to render and brown. Record the temperature before and after resting a few times; that teaches the carryover behavior of your steak thickness and equipment better than any universal time chart.
Schedule a Tomahawk for the Table
Work backward from carving. Allow time for the gentle cook, preheating the sear, a measured rest and carving; keep side dishes flexible. The steak can move through low heat predictably, but the final sear and rest deserve attention rather than a fixed reservation on the clock.
For two steaks, sort by thickness and probe both. Remove each from low heat independently, then sear in batches with the lower target first. Do not crowd a skillet or place two large steaks over a small hot zone. Label resting boards if diners requested different centers.
If the bone makes the piece impractical, the honest solution is not a cooking trick—it is a cowboy steak or thick boneless ribeye. The meat experience can remain excellent without the long handle.
Where This Guide Fits
This page supports the broader Tomahawk Steak guide. Use that pillar page for the complete cut family, buying framework and links to every closely related article.
Useful next reads include Tomahawk Steak Recipe, Smoked Tomahawk Steak, Dry-Aged Tomahawk Steak, Ribeye Steak, and Cowboy Steak for nearby cuts, methods and decisions.
Frequently Asked Questions
How long does a tomahawk take to cook?
There is no dependable single time. Thickness, actual weight, bone, starting temperature, cooker temperature and airflow all matter. Use time for planning and a thermometer for doneness.
Can I cook a tomahawk entirely in cast iron?
You can, but the long bone and thick center make control awkward. A low oven followed by a cast-iron finish is usually more even.
Where should the probe go?
From the side into the thickest central part of the ribeye eye, clear of bone and large fat seams.